If you’ve just started learning to code or are exploring ways to work faster and smarter, you’ve likely heard the buzz around AI-powered tools. One of the most exciting entries in this space is Cursor AI, a next-generation code editor designed to help developers build applications faster, troubleshoot smarter, and learn as they go.
What Is Cursor AI?
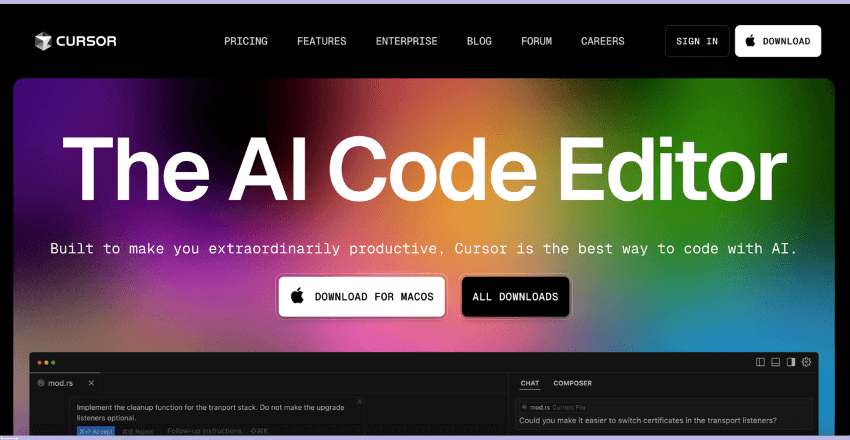
Cursor AI is an AI-powered code editor built on the familiar interface of Visual Studio Code (VS Code), but with deeply integrated artificial intelligence. Unlike traditional editors that simply highlight syntax or offer autocomplete, Cursor acts like an AI pair programmer that understands your project context, writes code for you, and helps you fix errors, often in real time.
With tools like GPT-4 and Claude integrated into the platform, you can generate full projects, debug issues, and even transform UI sketches into code.
It’s more than a text editor. Cursor is your co-pilot for coding.
Why Beginners Should Care
Most beginner coders struggle with the same problems:
Not knowing what to build
Getting stuck on syntax errors
Not understanding how different files and code components work together
Spending hours searching Stack Overflow
Cursor changes that by integrating learning and doing into one experience. You don’t just type code, you build with an AI assistant that explains, generates, and edits in a way that makes sense.
Here’s why:
You learn faster by seeing code generated from your ideas.
You debug smarter with AI suggestions that explain the fix.
You gain confidence by shipping real projects, not just doing tutorials.
Prerequisites
Before we begin, ensure you have:
- Python installed (3.8 or higher recommended)
- Git for version control
- Cursor installed and updated to the latest version
How to Get Started with Cursor AI
1. Download and Install Cursor
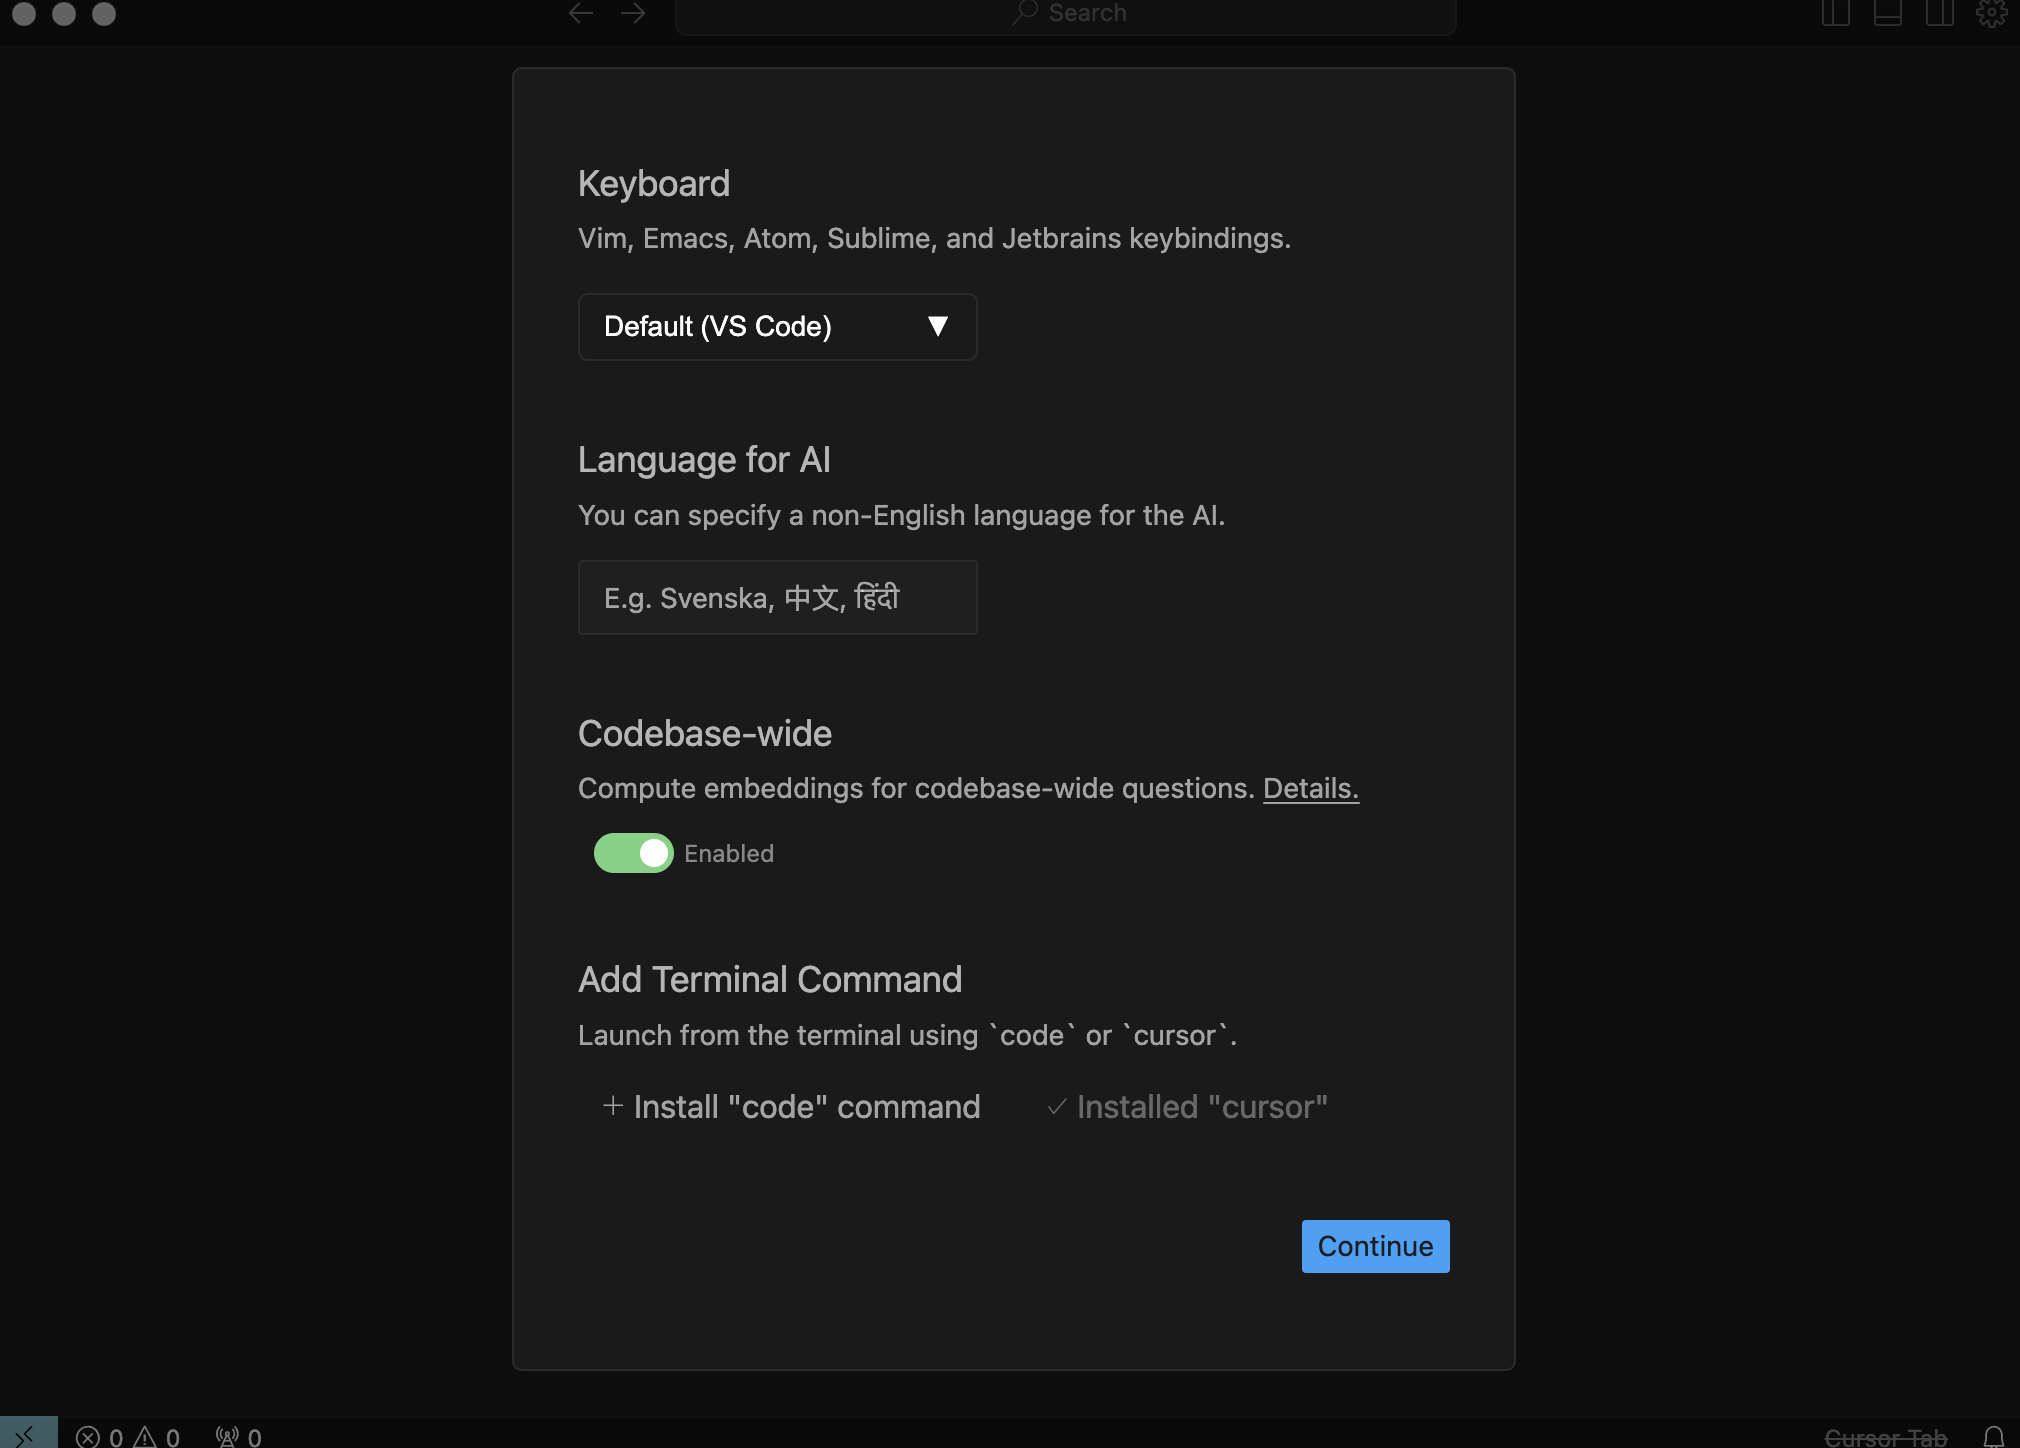
Cursor is available for both macOS and Windows. There’s a free plan that offers limited access to AI completions, and a Pro plan ($20/month) for more frequent use and faster responses from premium models like GPT-4.
Once installed, open the app and go to:
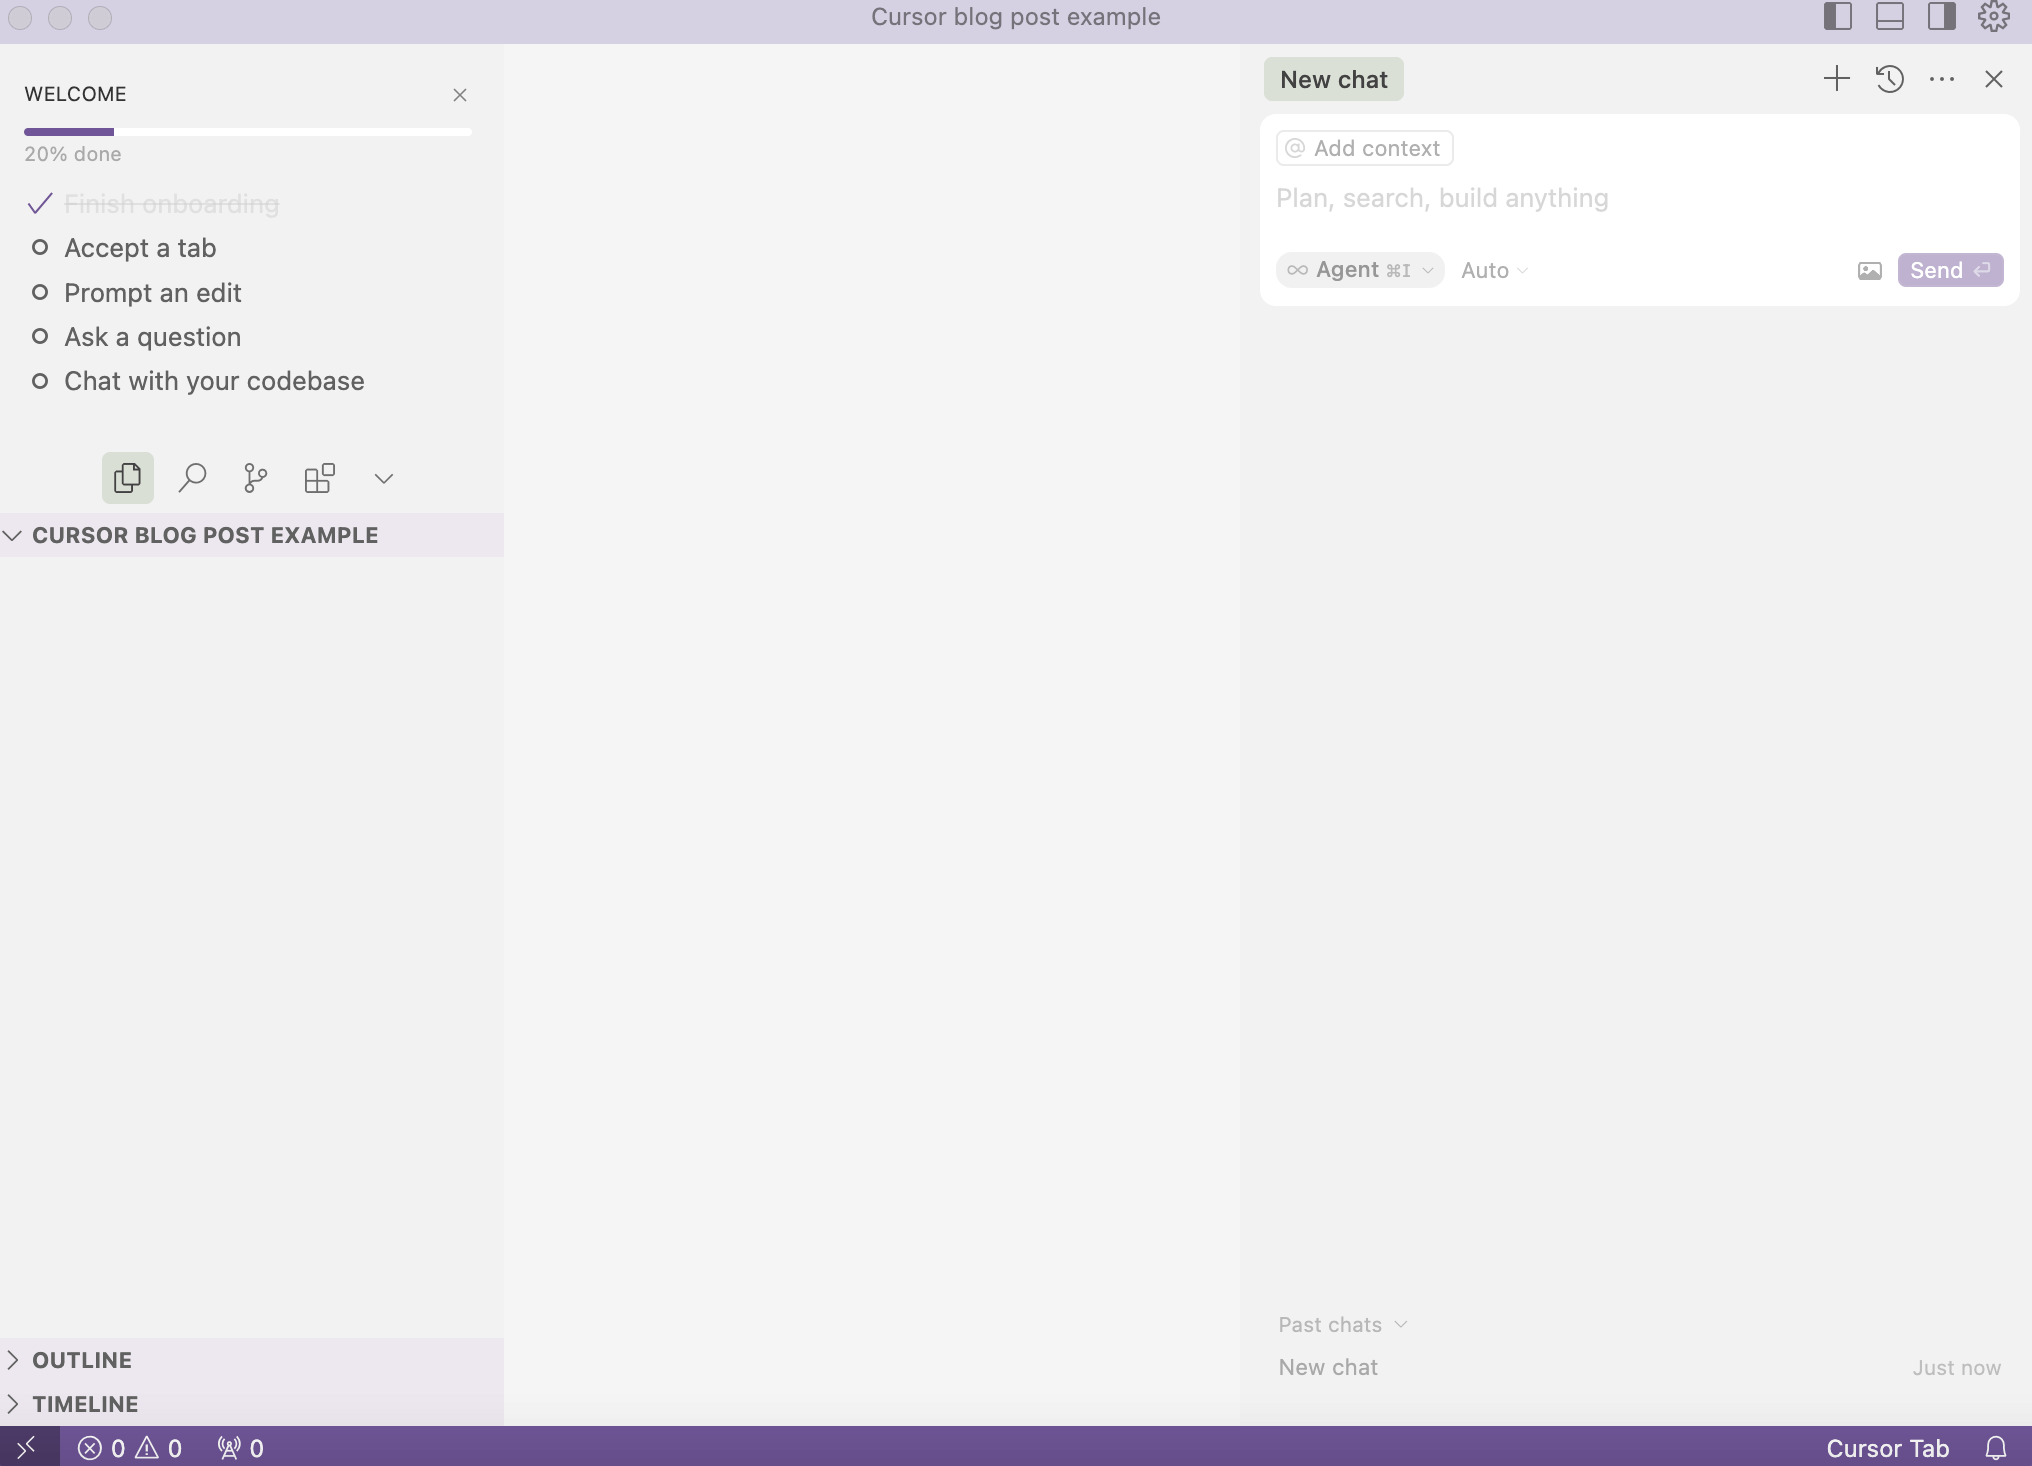
File > Open FolderCreate a new folder specifically for your project. Don’t use the default folder; keeping your work organized helps prevent accidental data loss.
The Cursor Development Flow
One of the most helpful aspects of Cursor for beginners is how it supports a complete development workflow, from brainstorming your app to deploying functional code. Traditional editors often leave you juggling tabs, plugins, and terminals. Cursor bundles everything you need in a seamless, AI-powered experience.
Here’s what a beginner-friendly development flow looks like inside Cursor:
Plan Your App
Every great project starts with a plan. Use the built-in chat or a Markdown file in your project to outline:
App purpose and features
Tech stack (language, framework, database)
Folder structure (pages, components, backend, etc.)
Cursor’s AI can even help you refine your idea. Try asking:
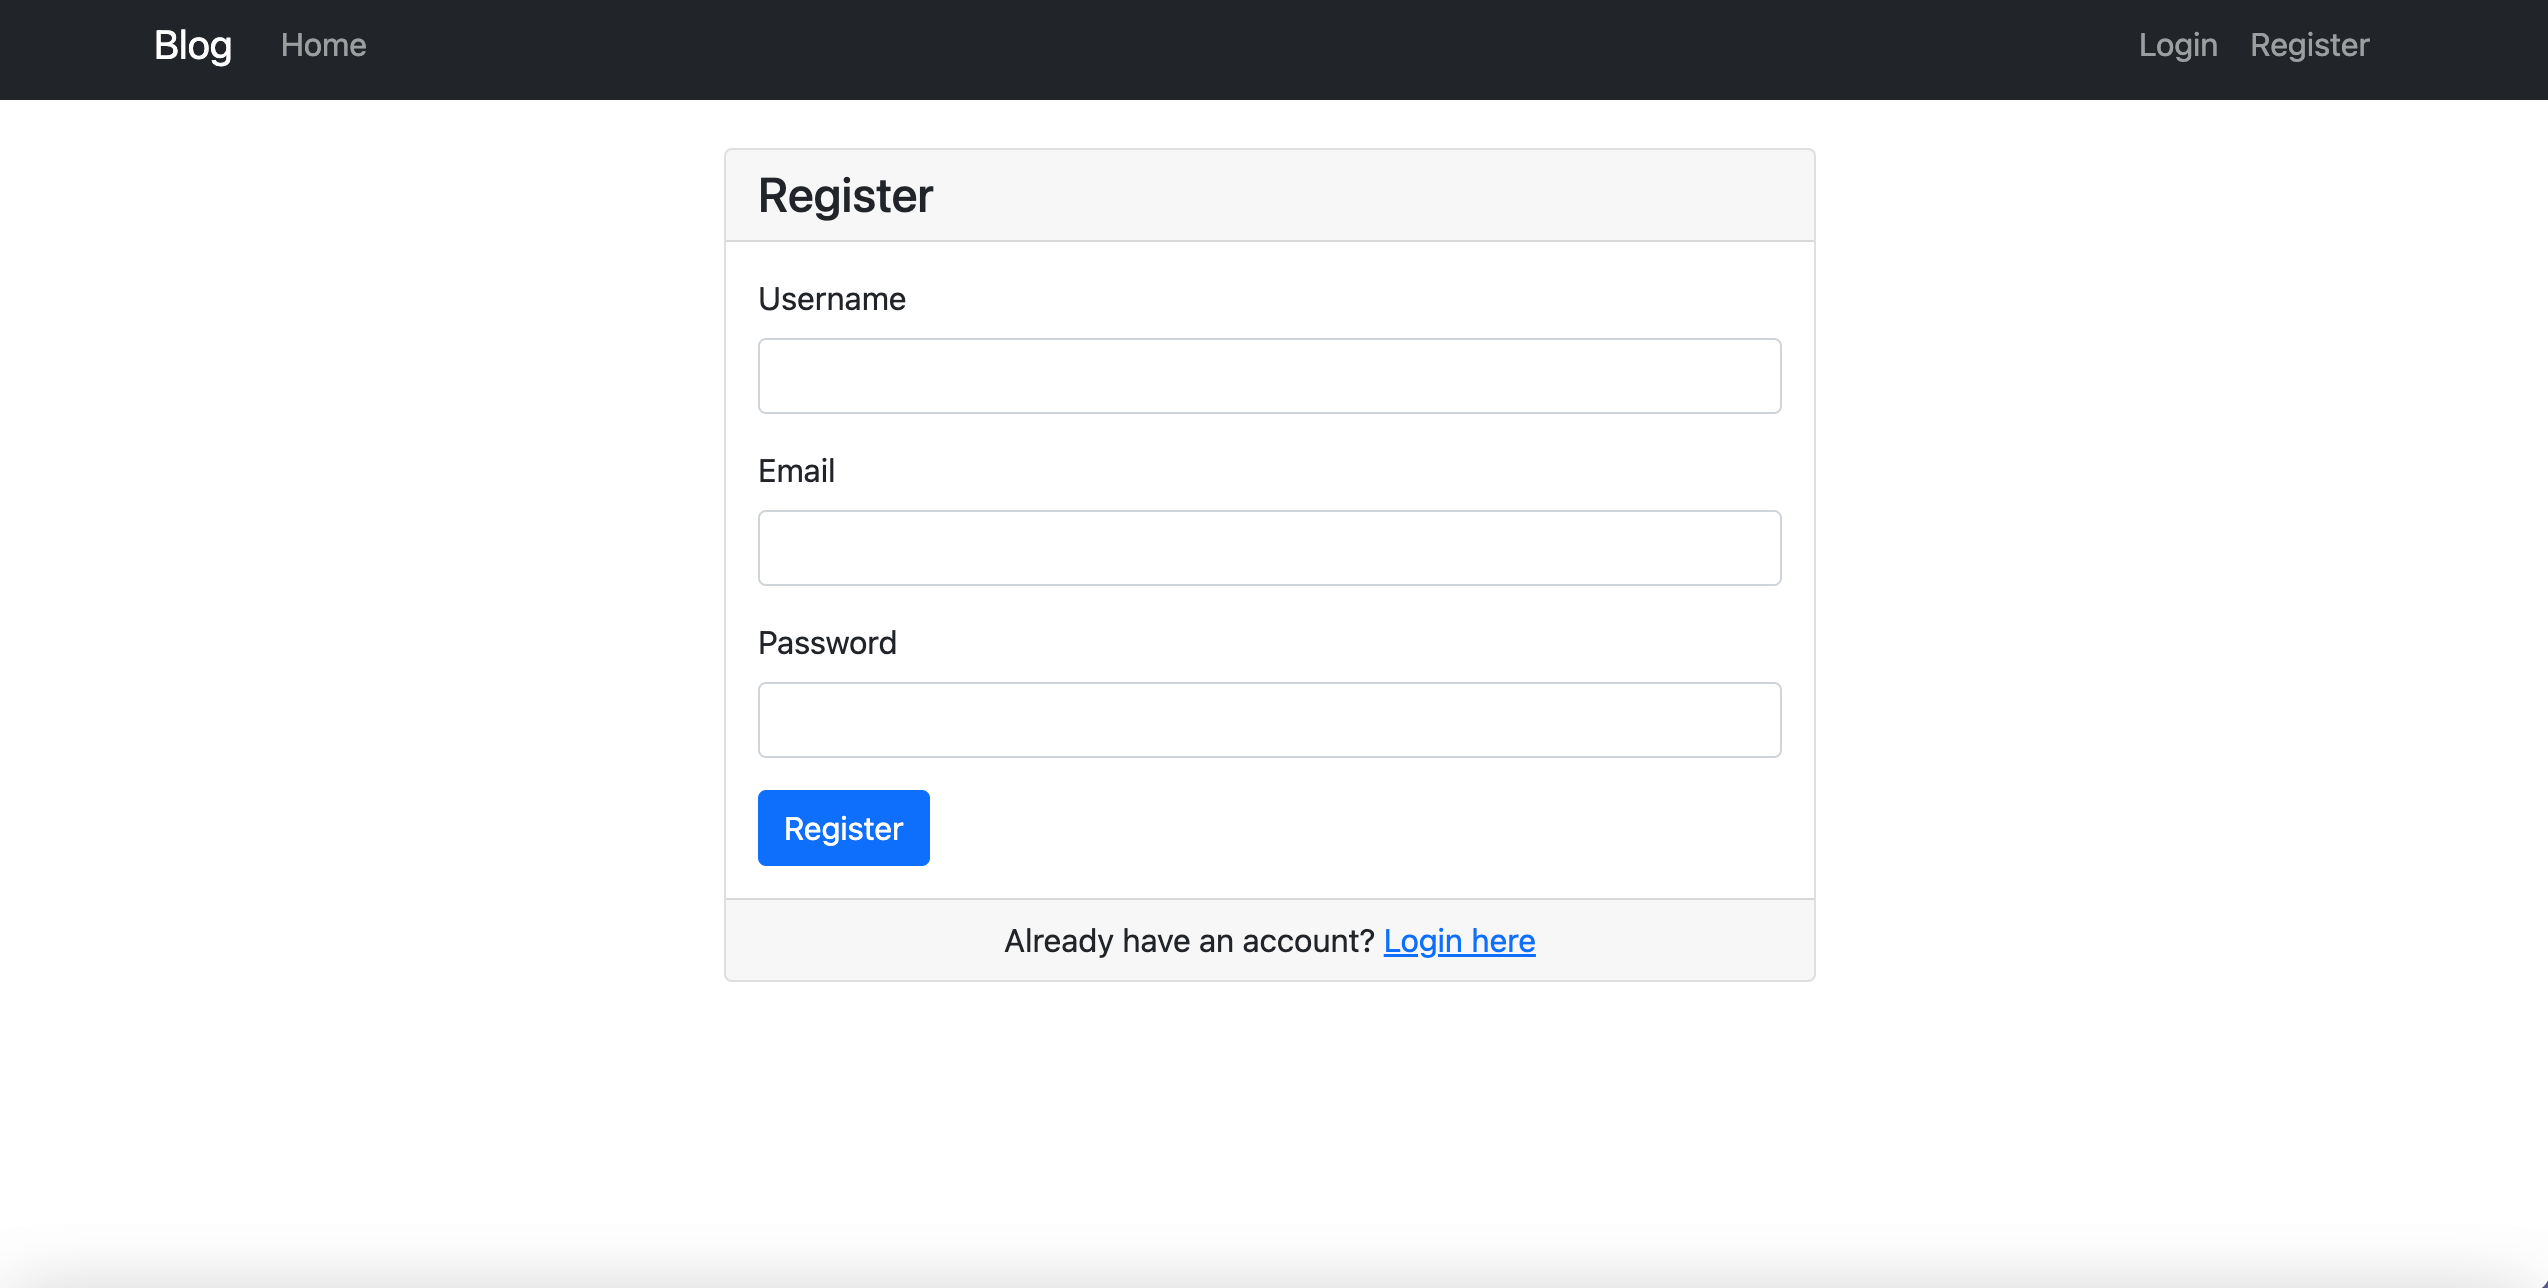
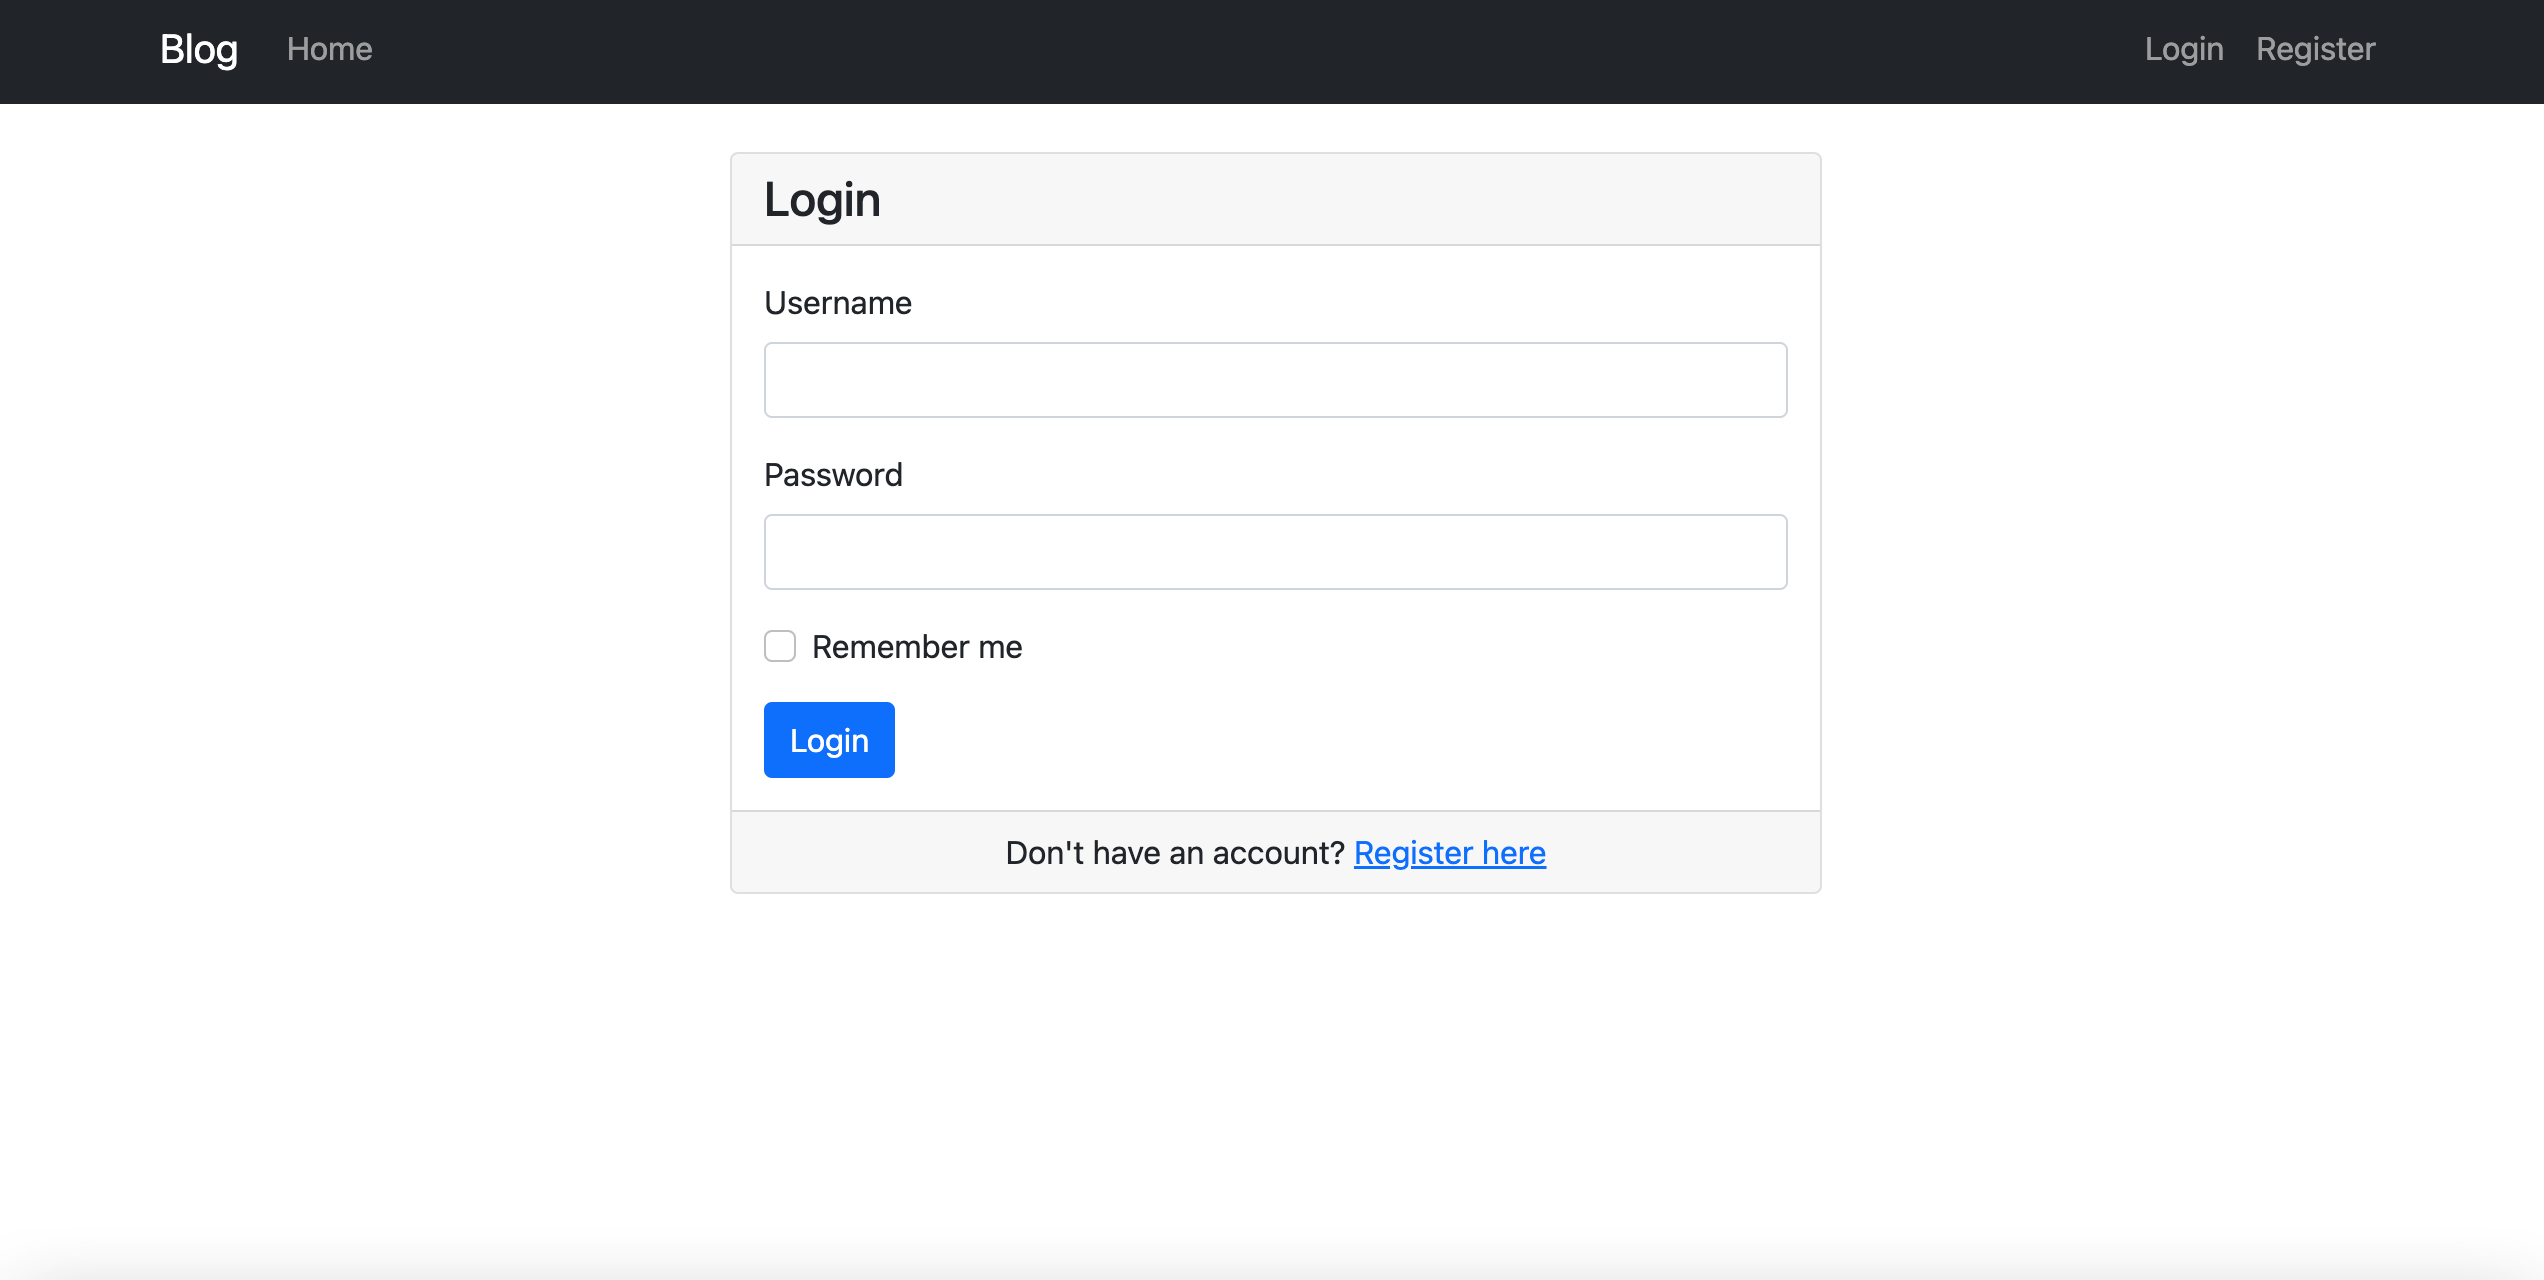
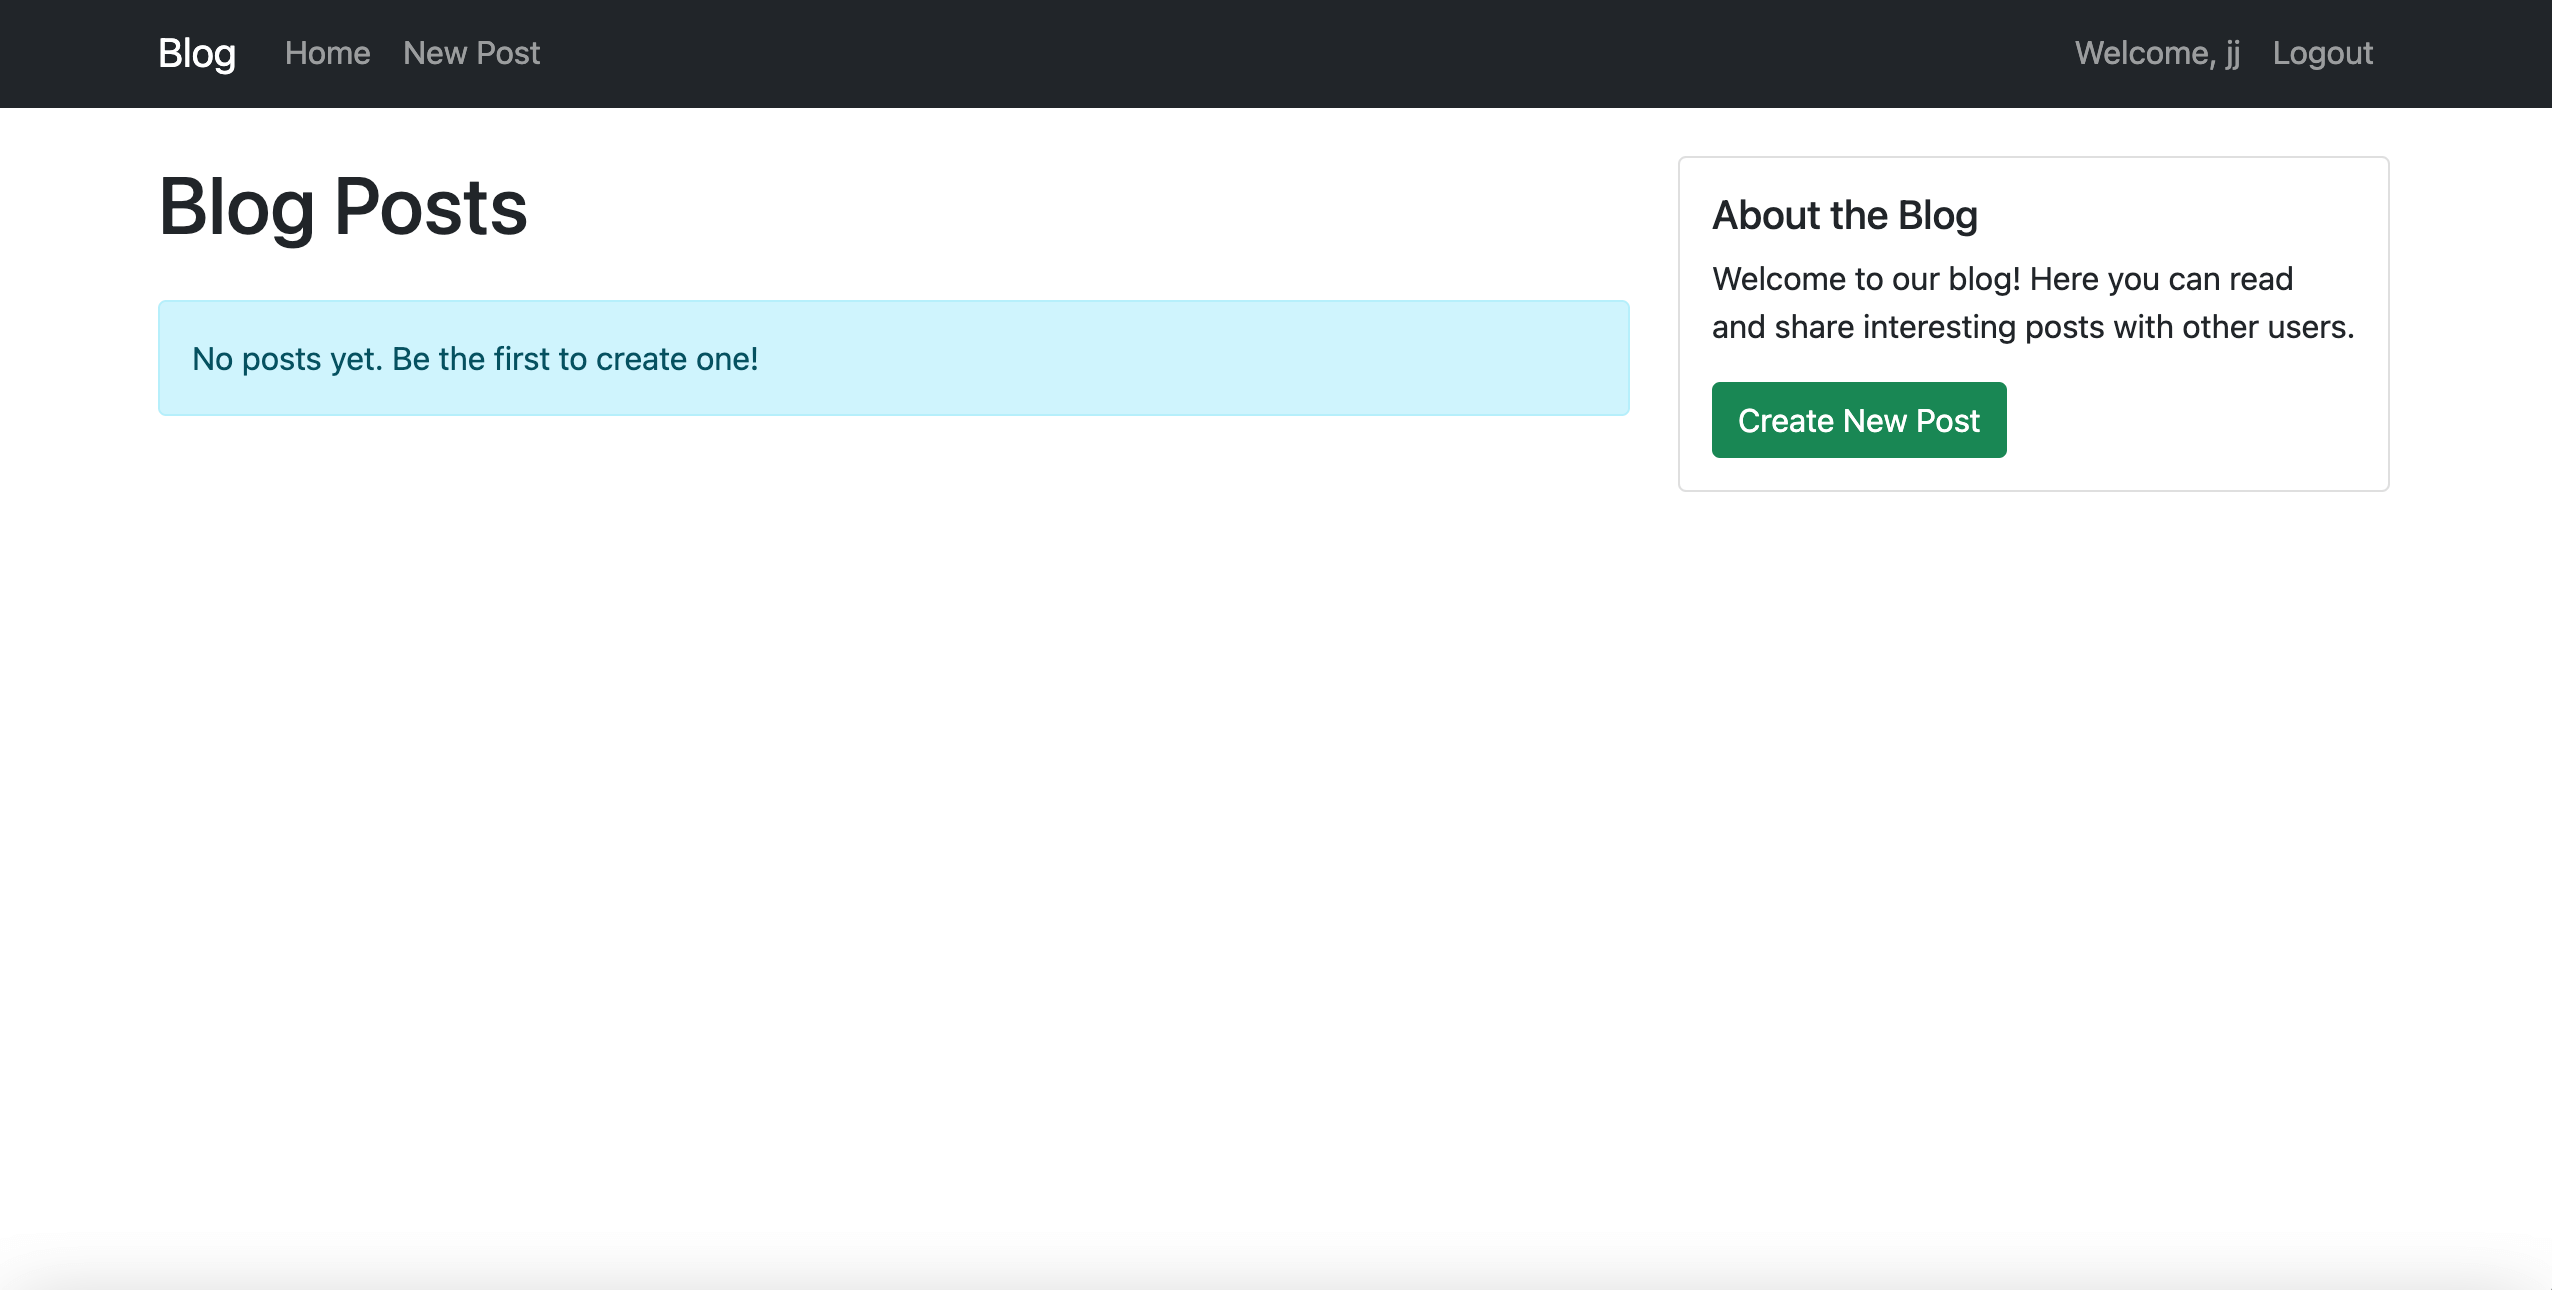
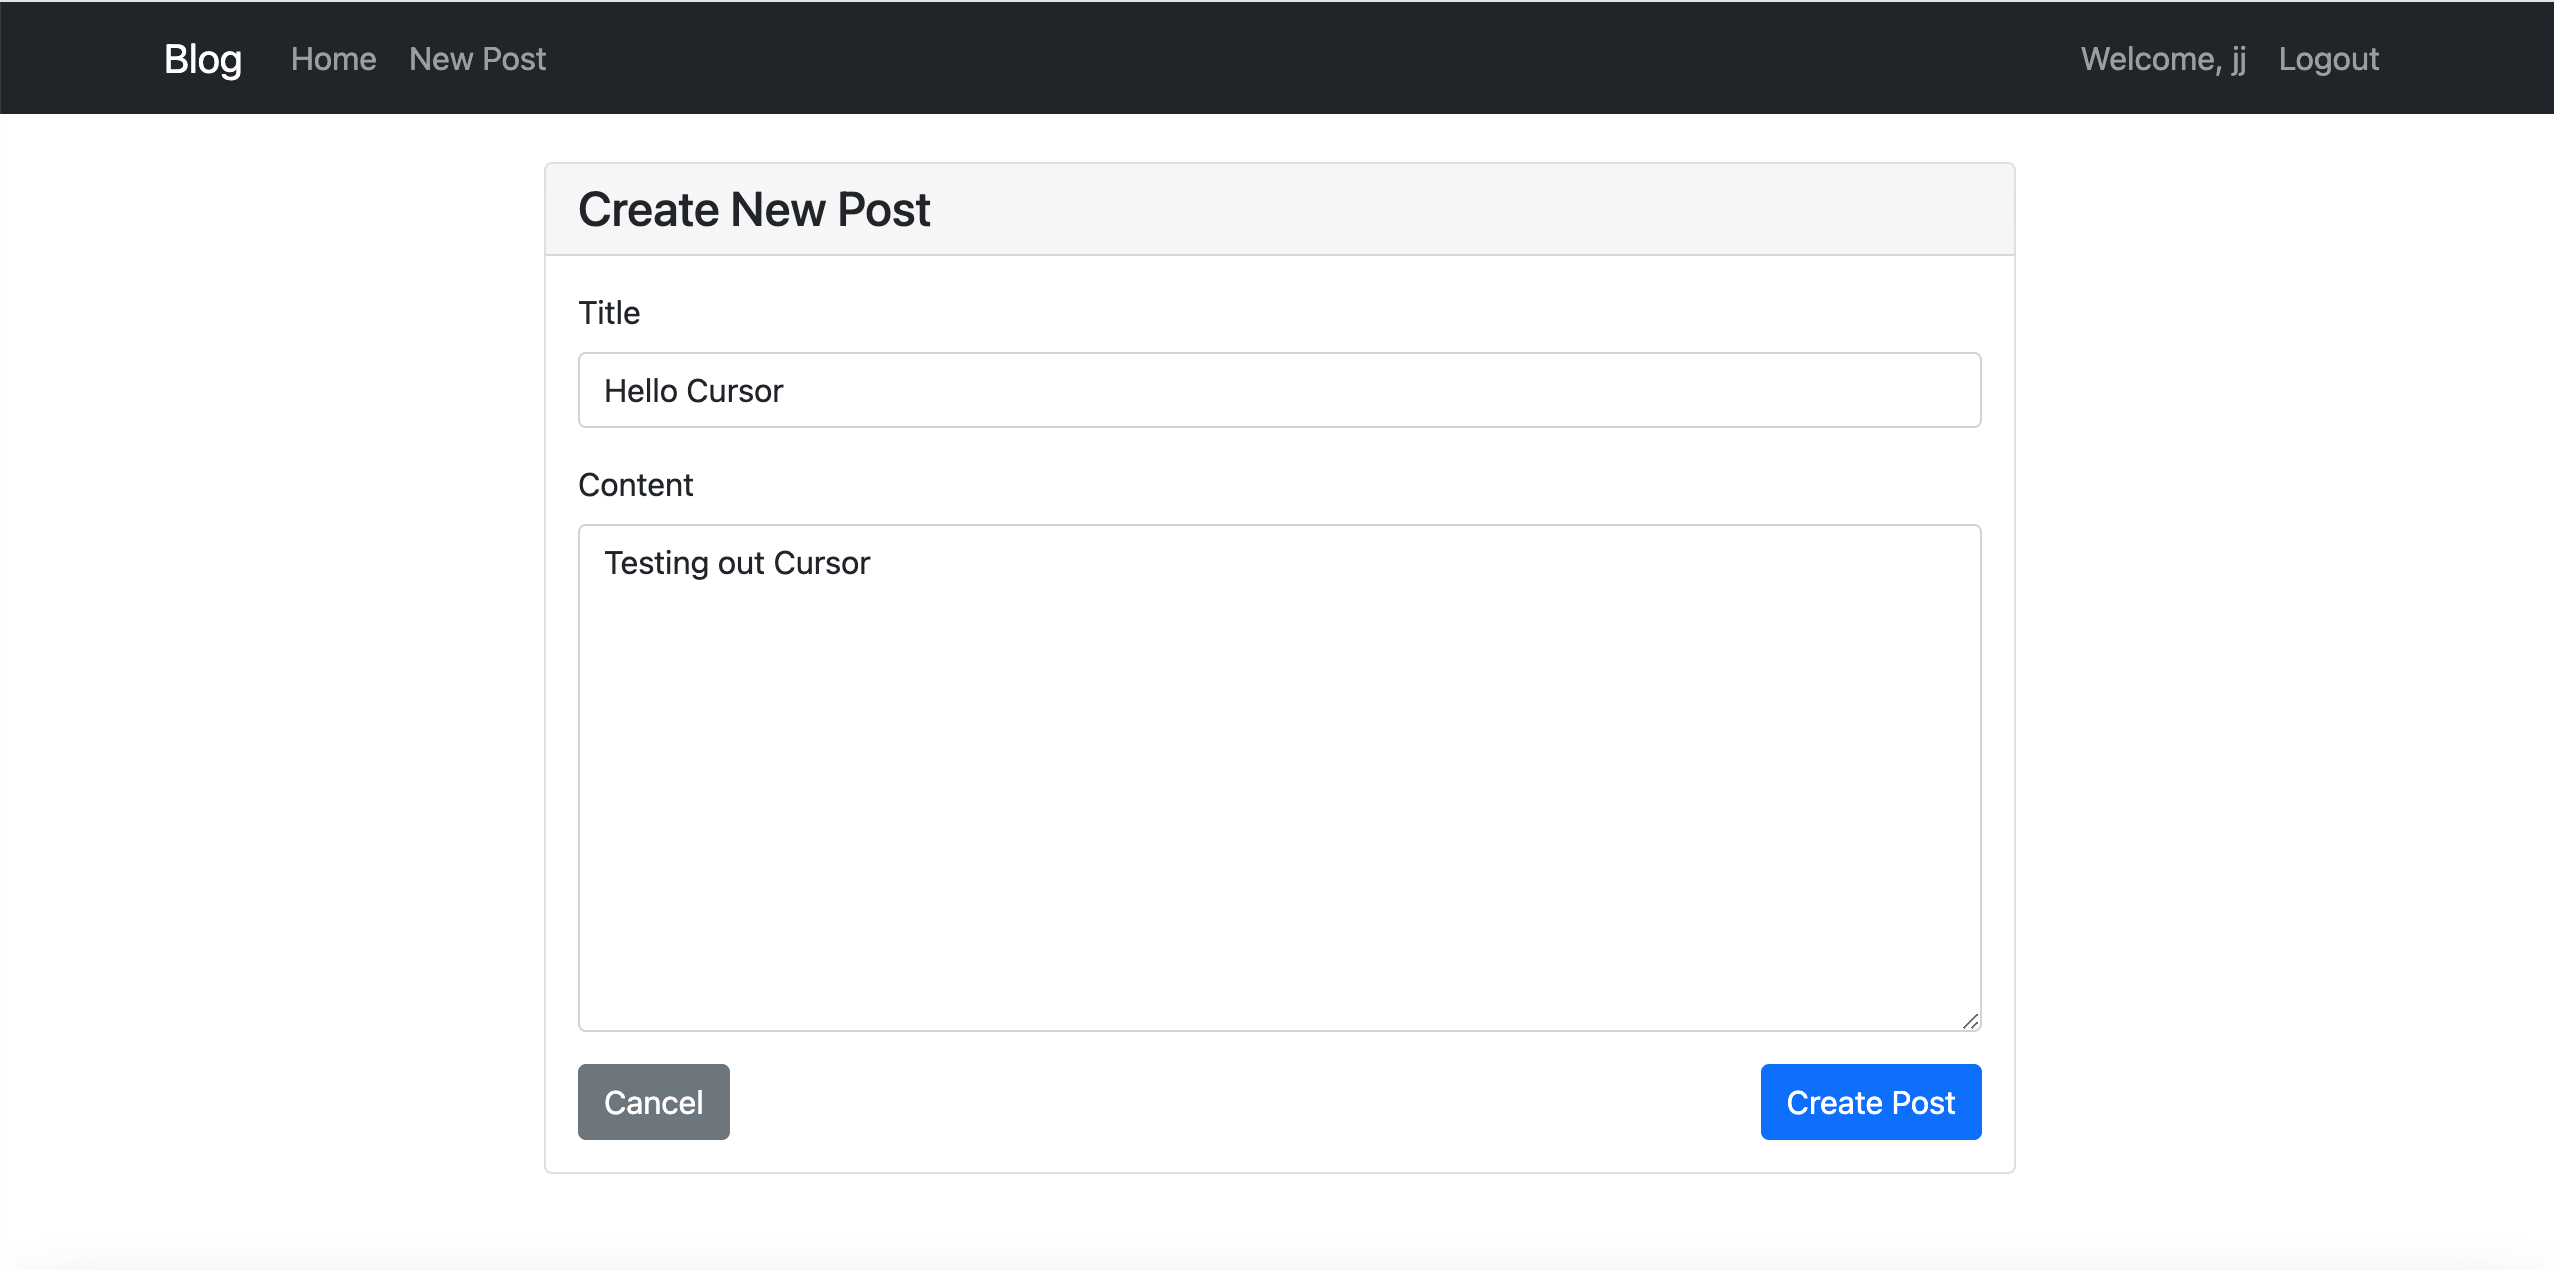
“Can you help me plan a simple blog app with user login and post creation using Python?”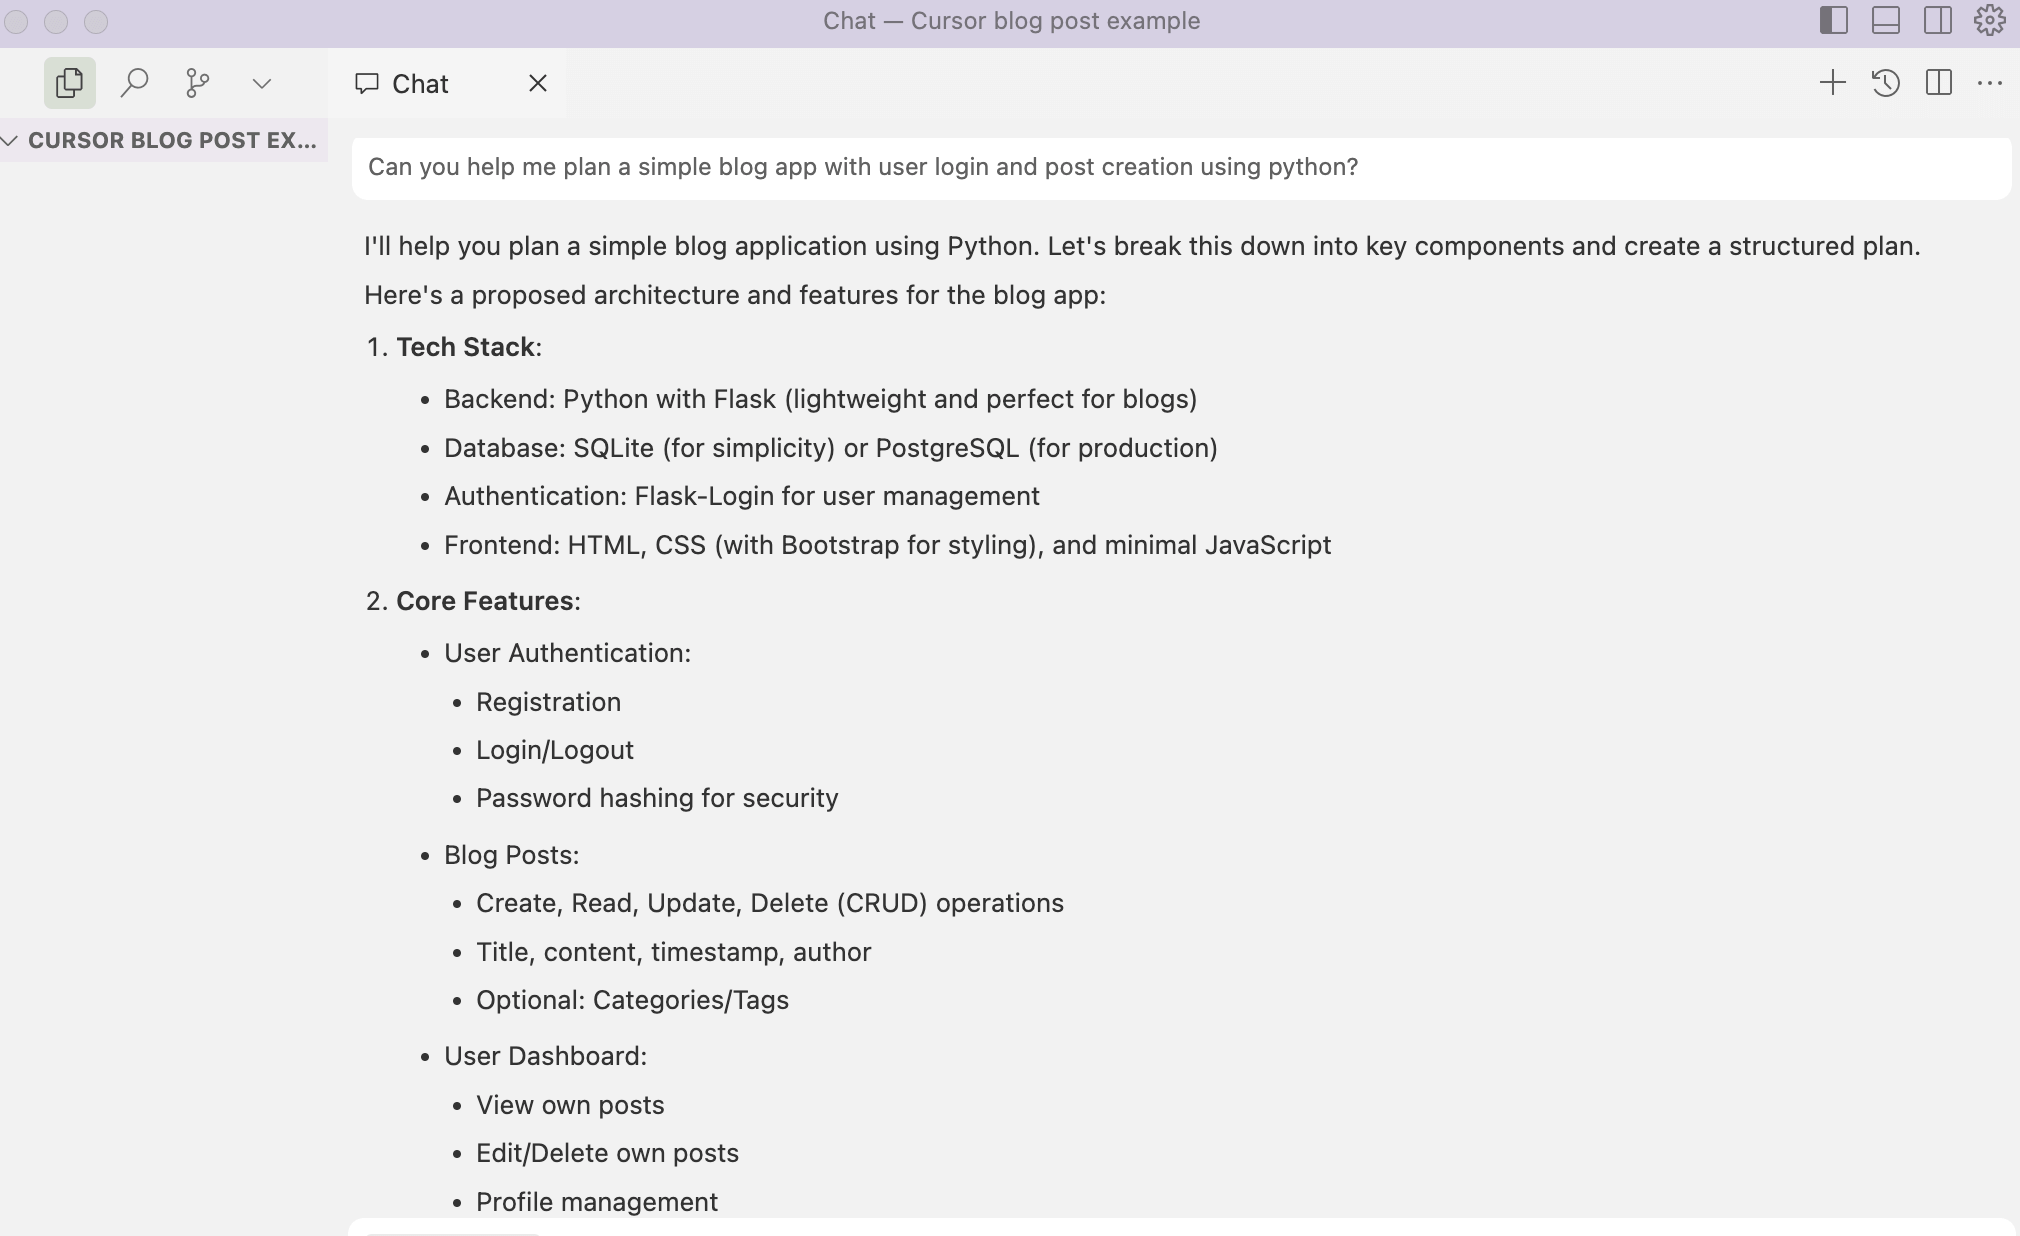
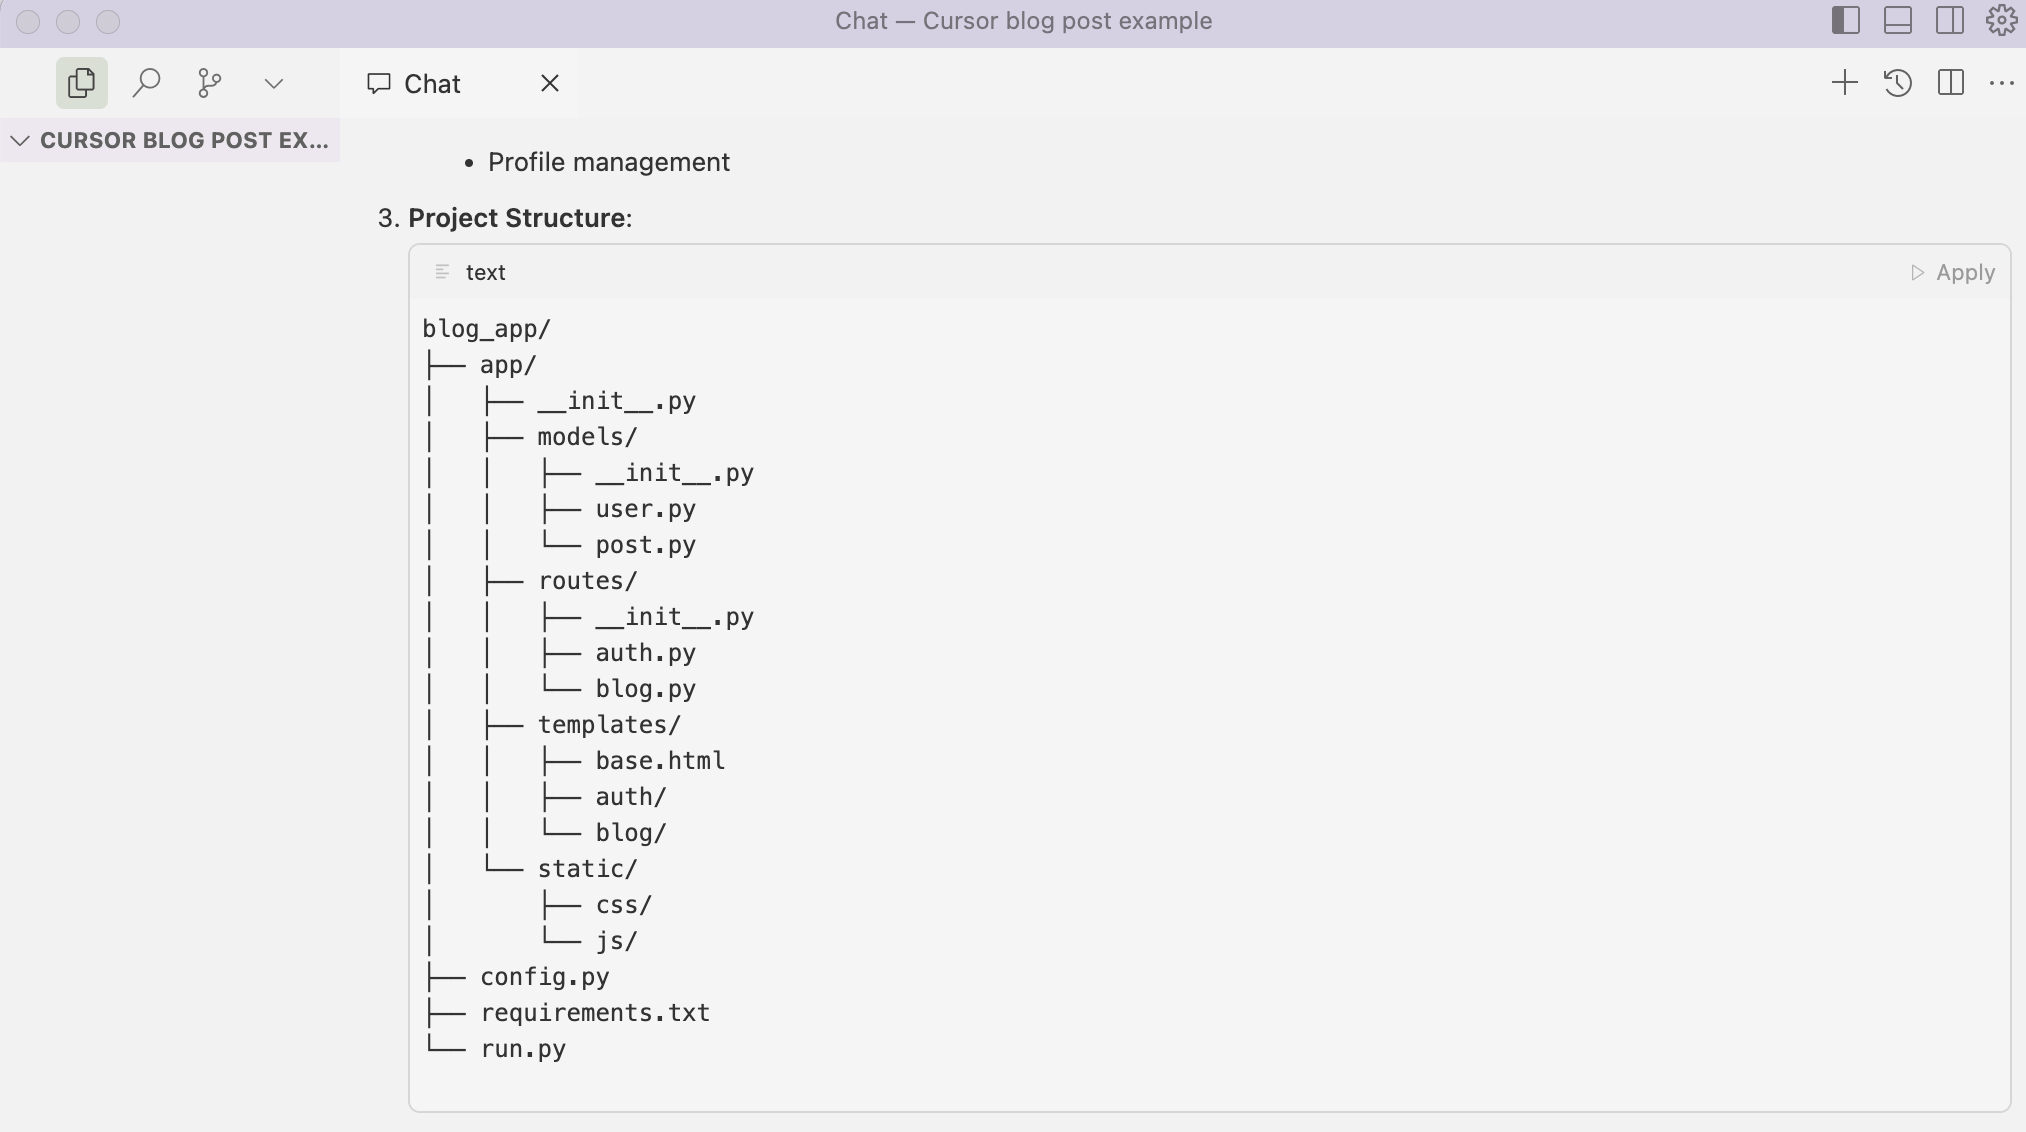
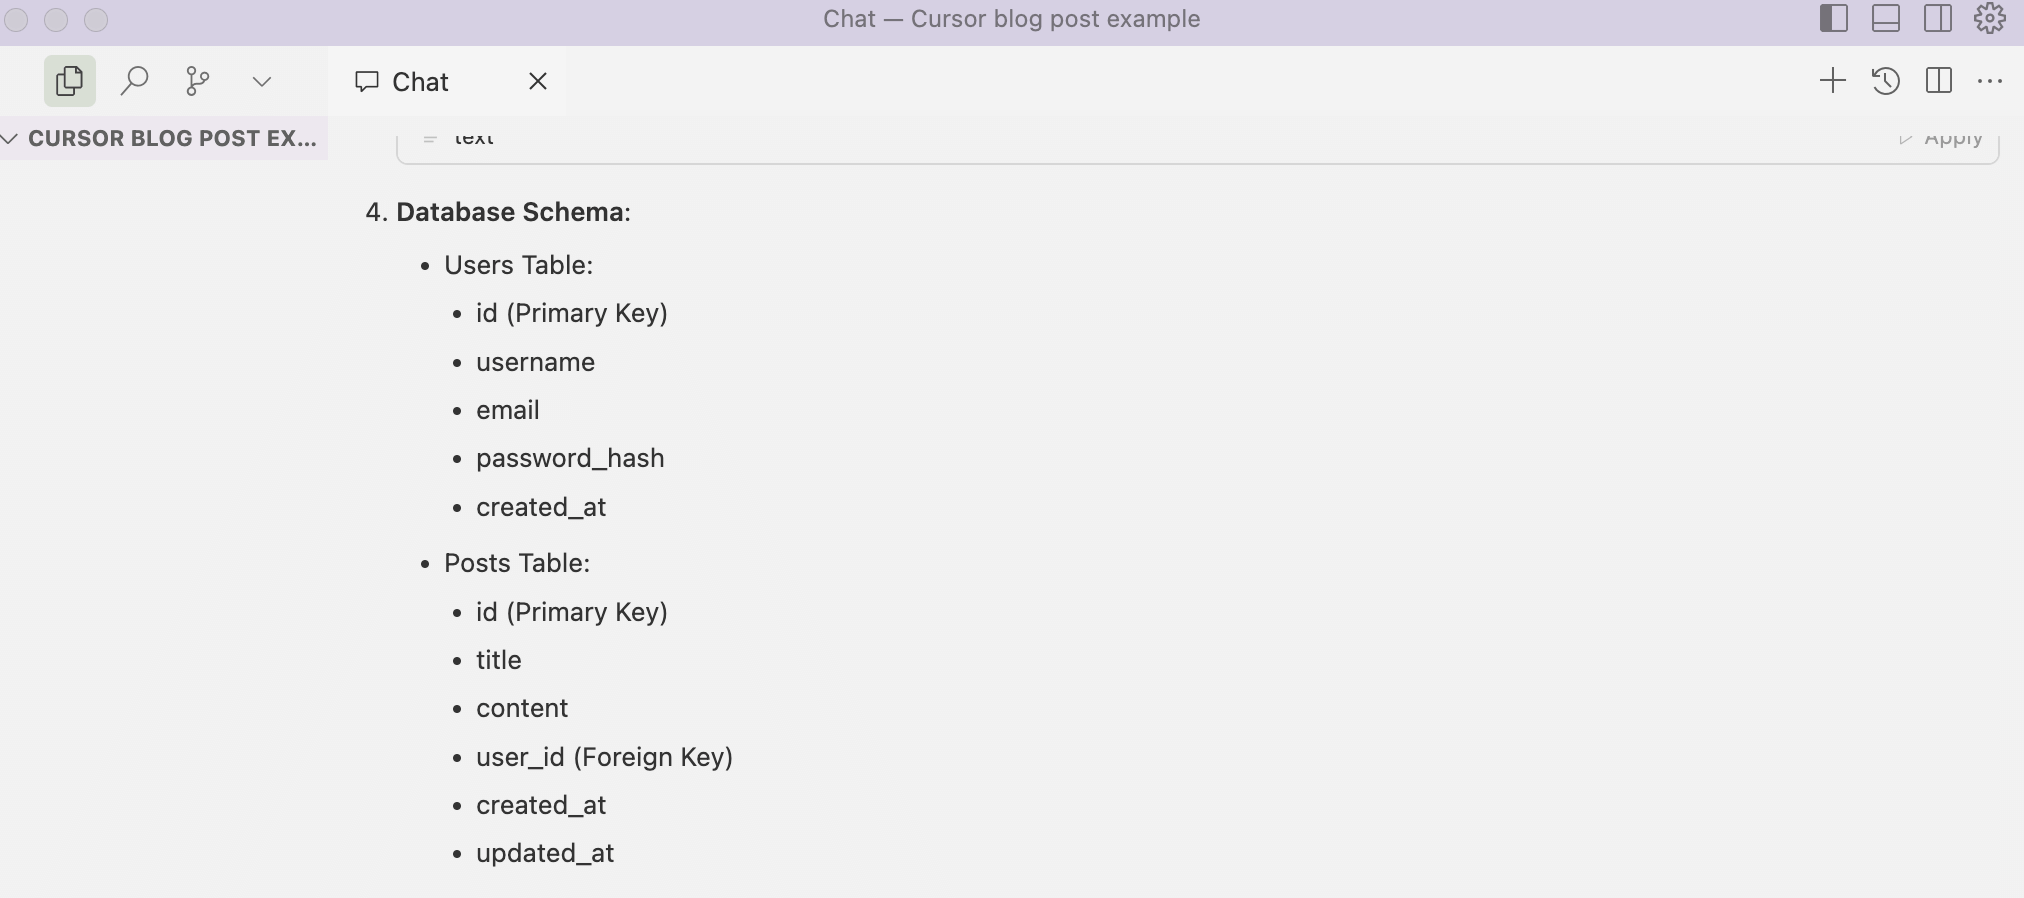
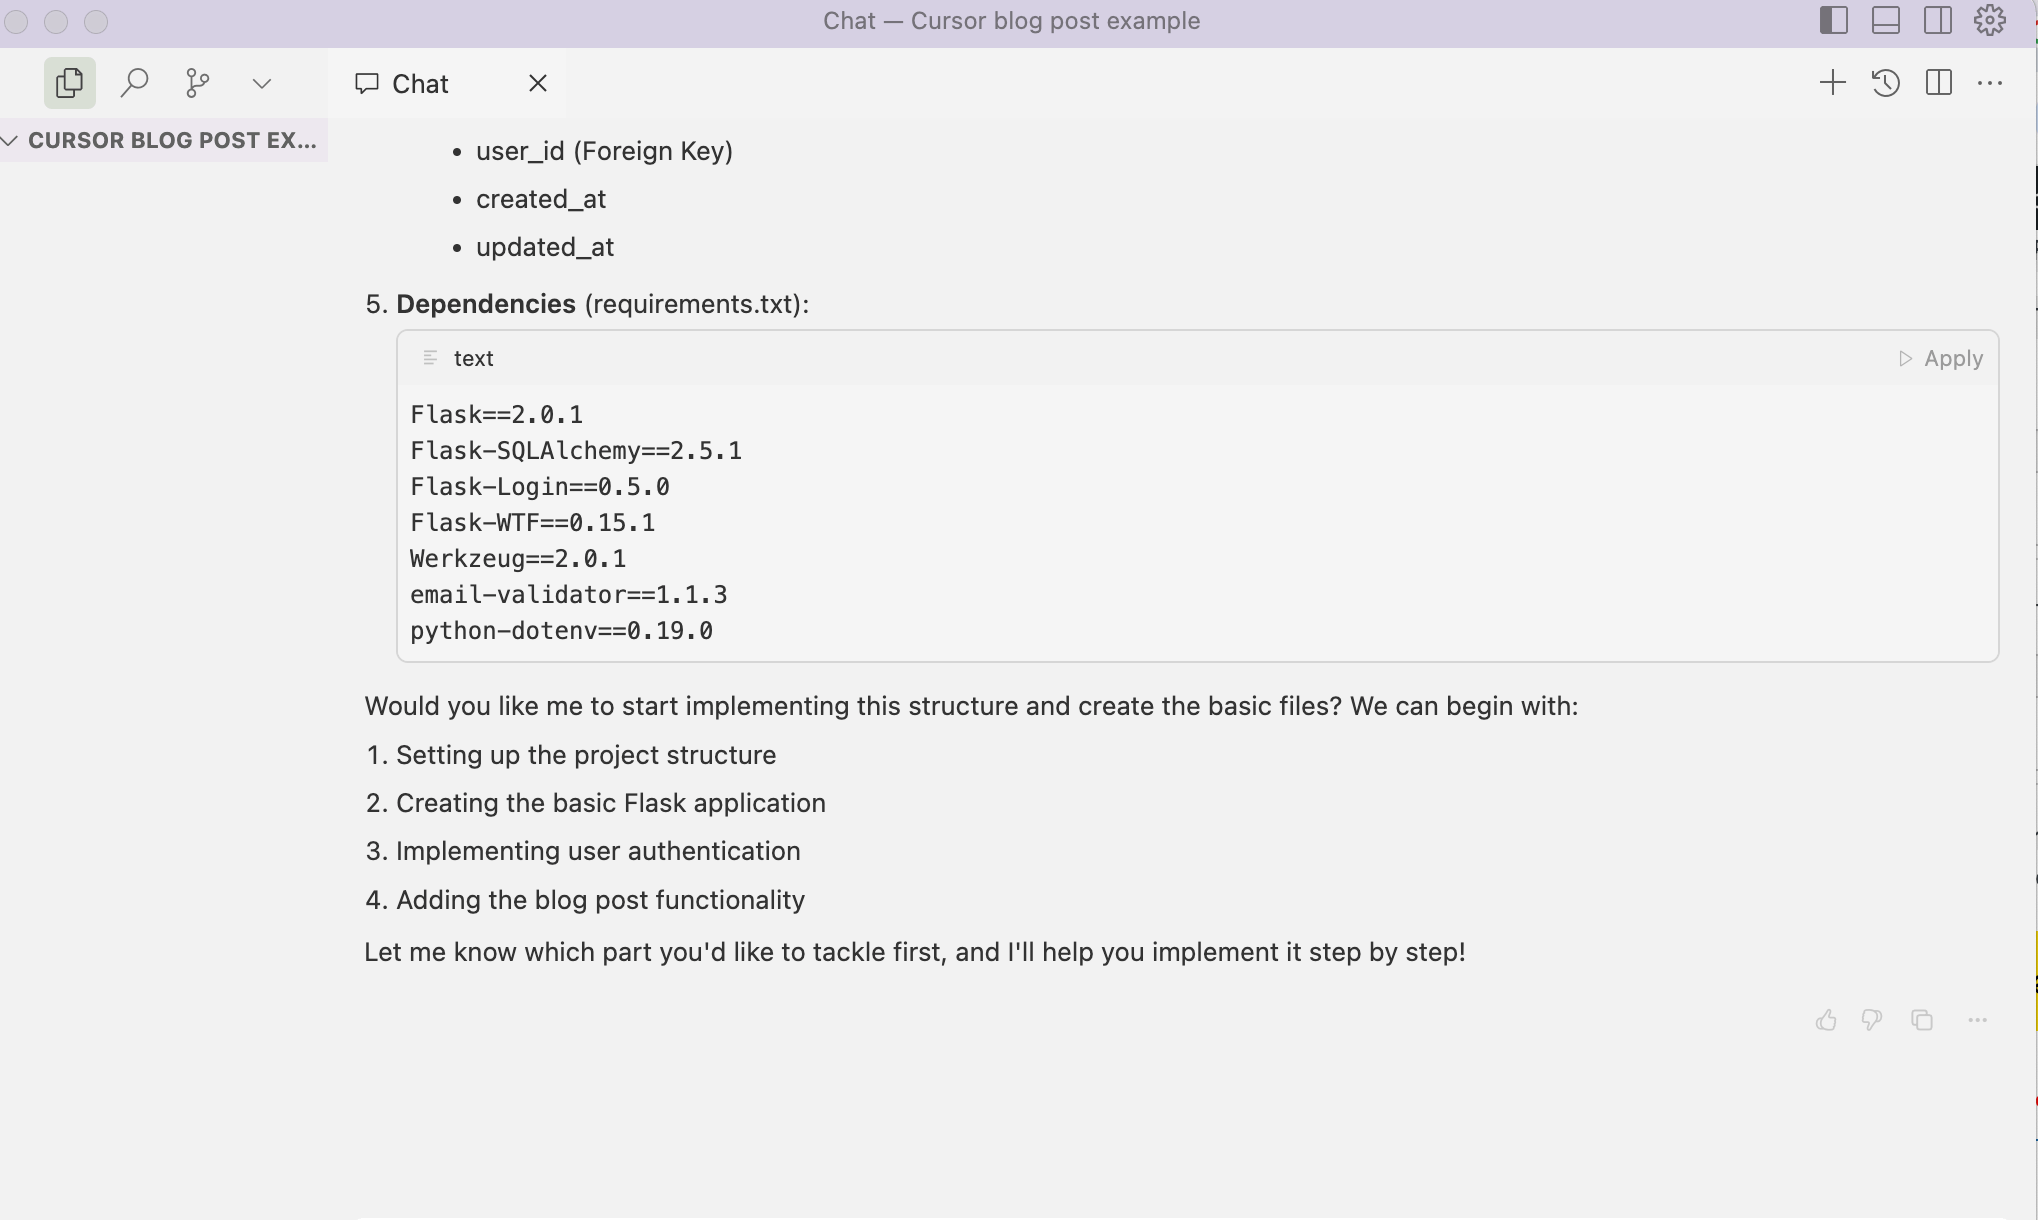
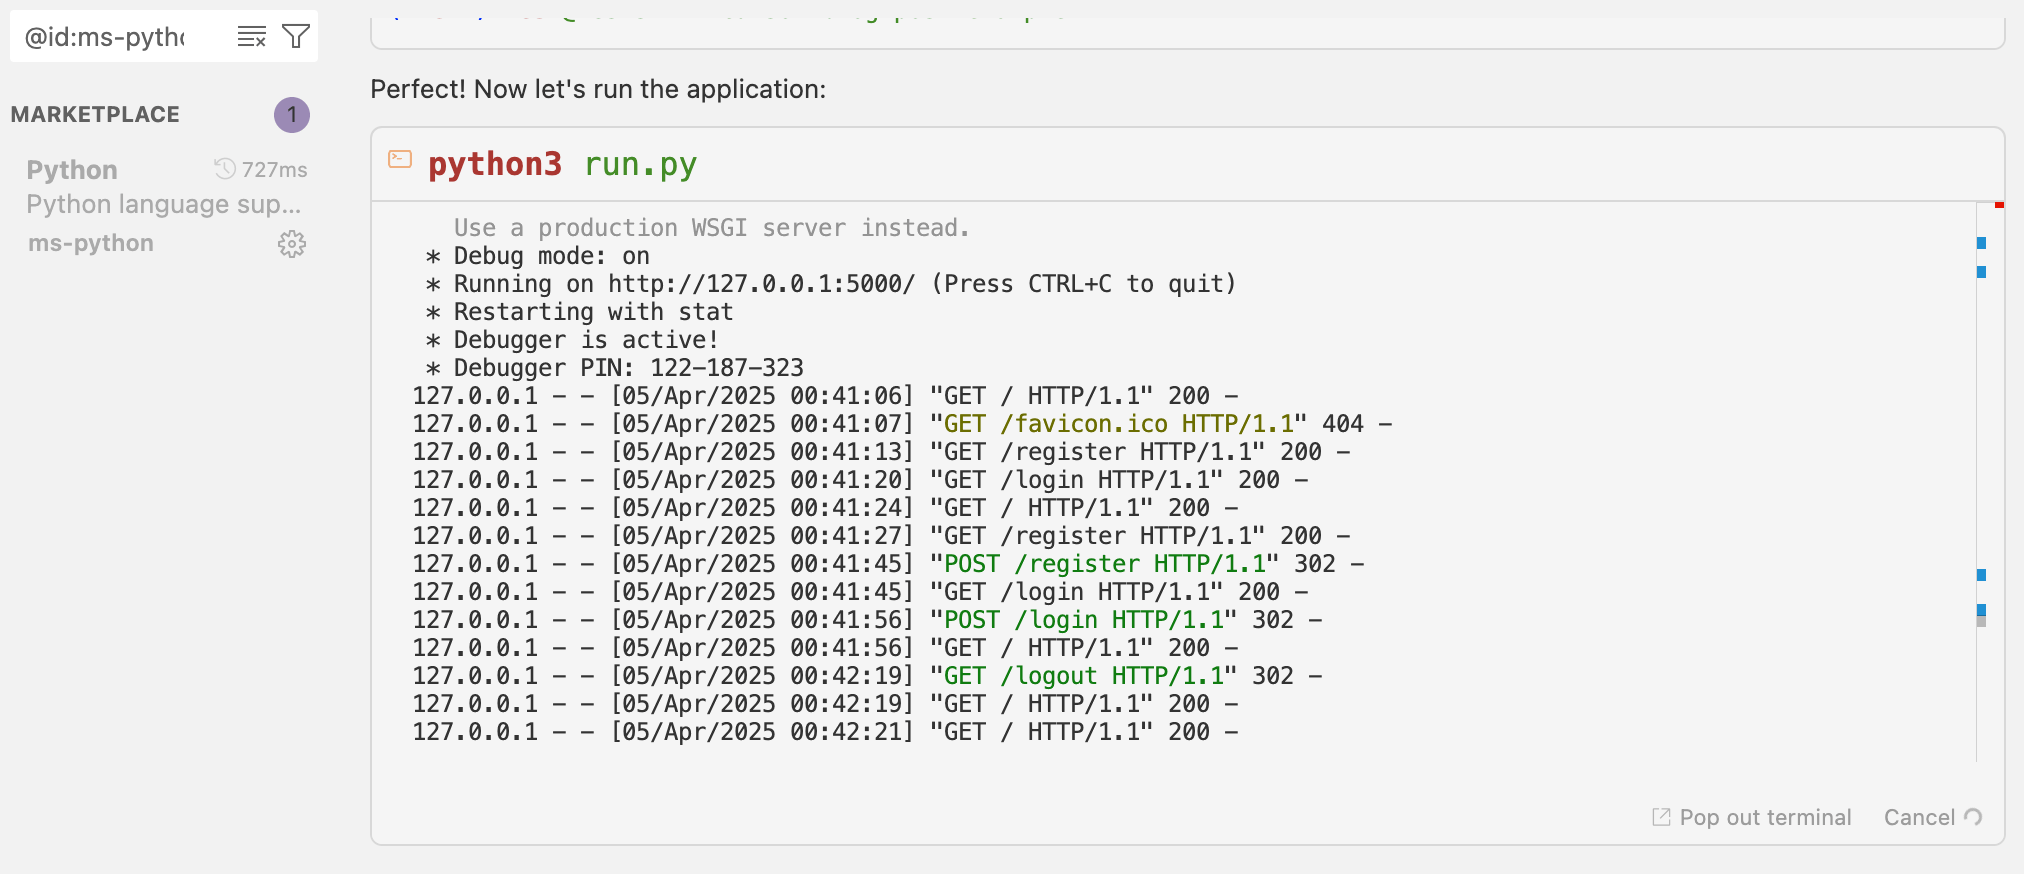
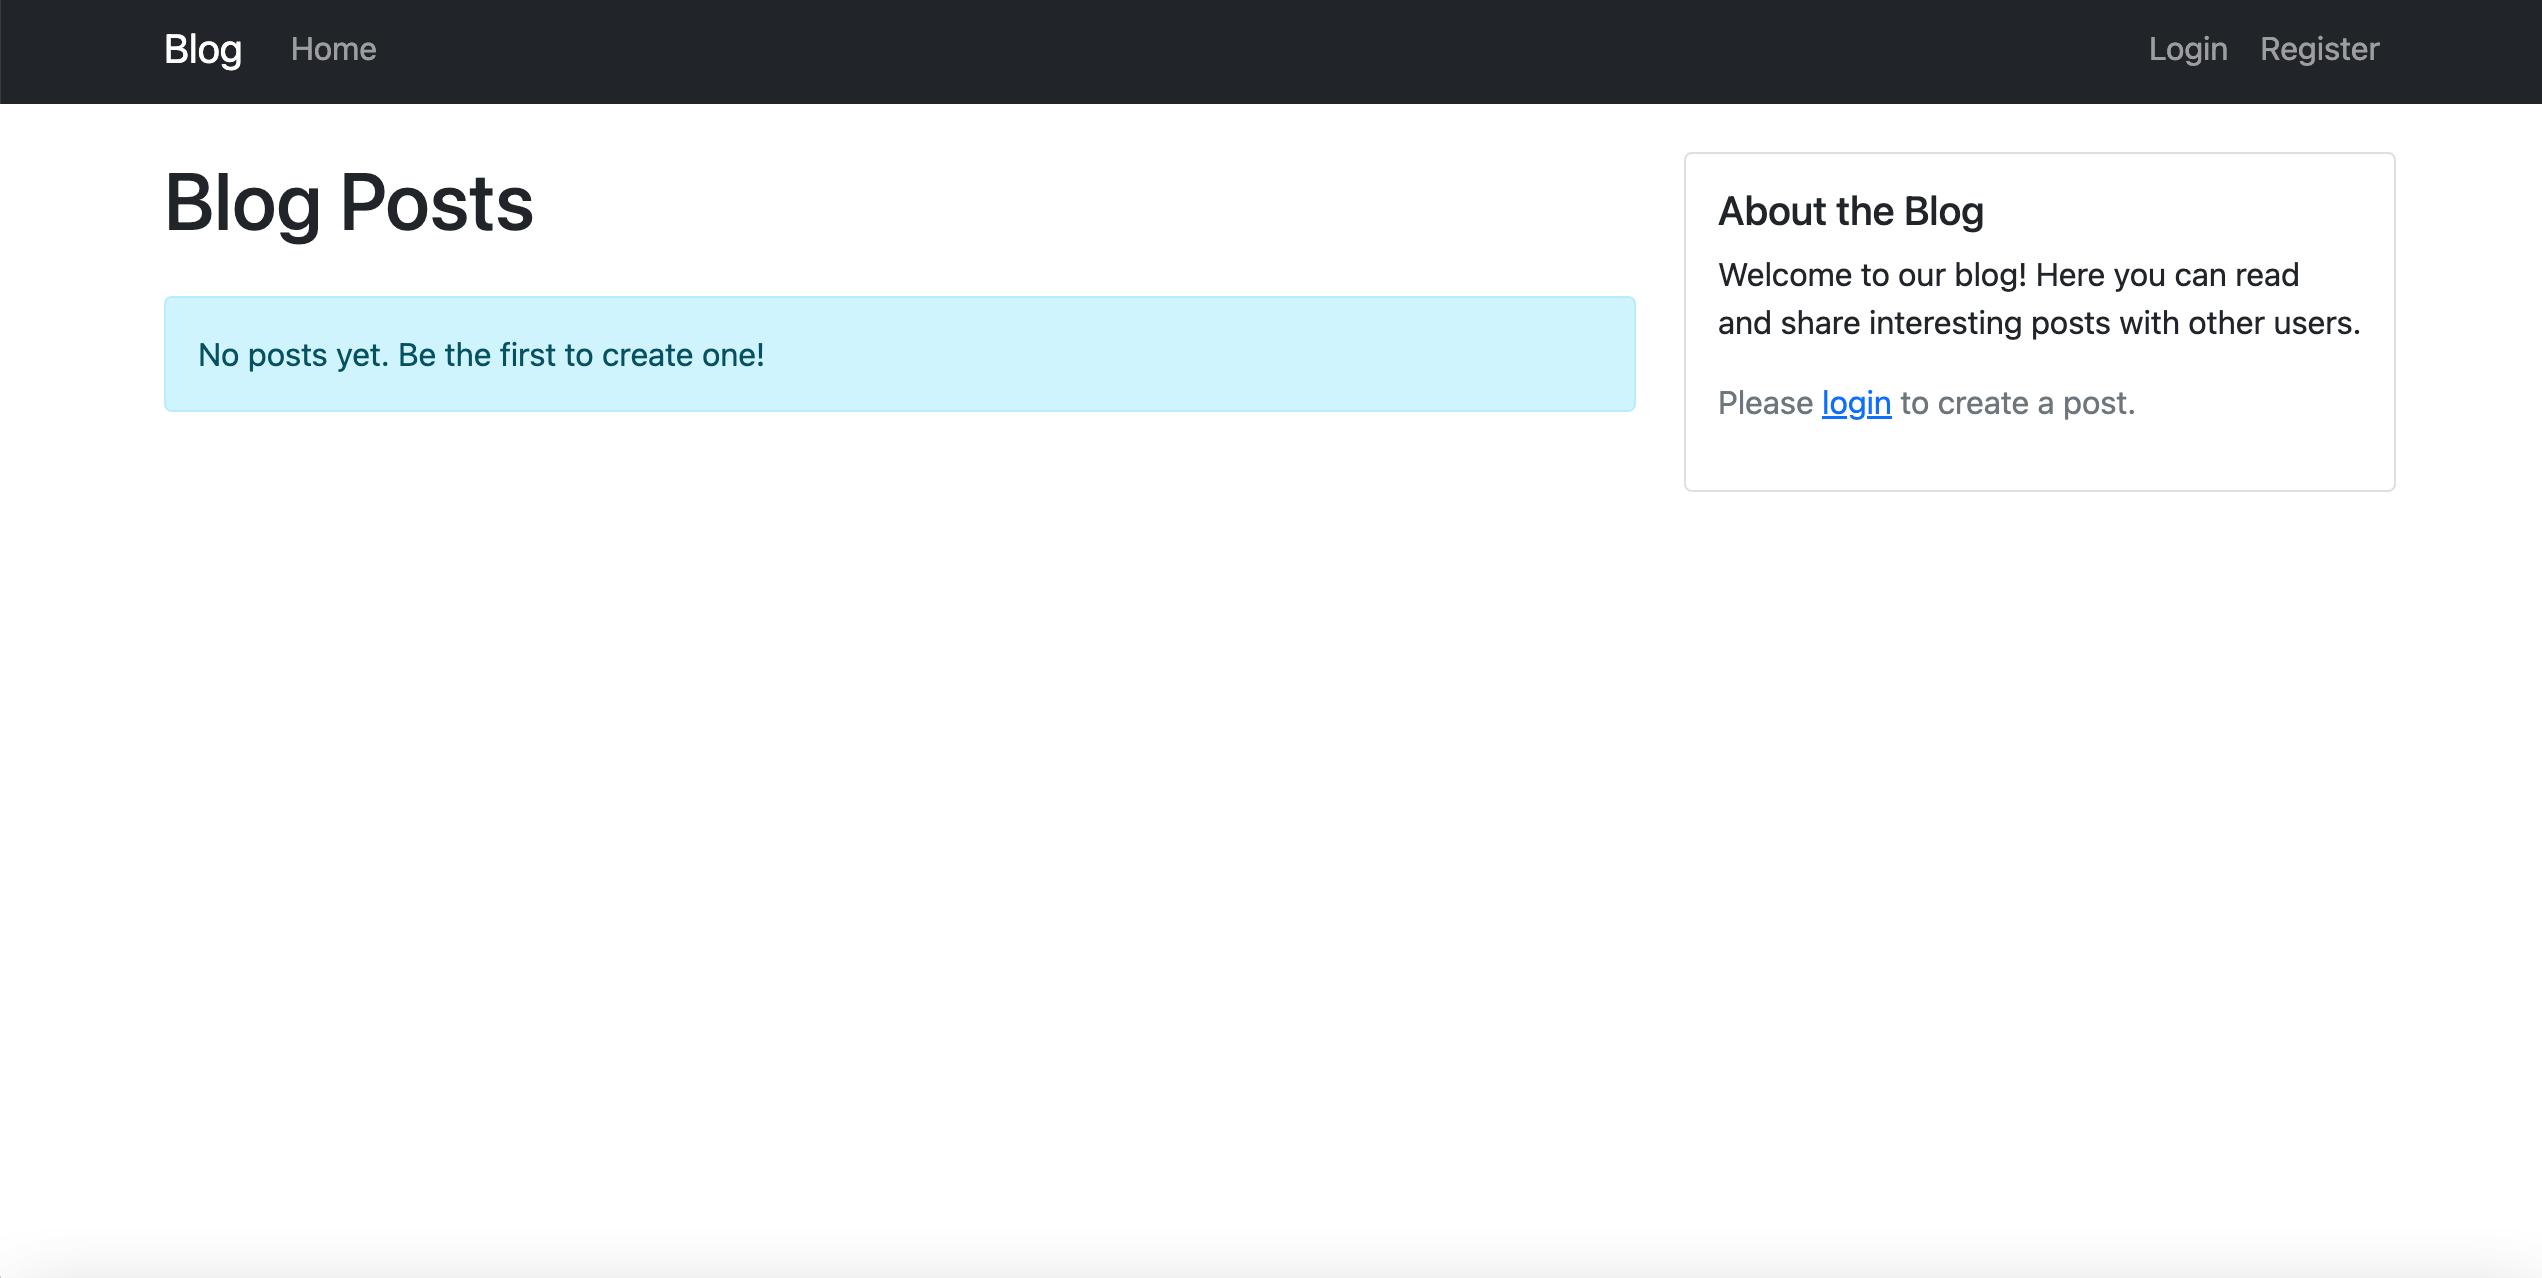
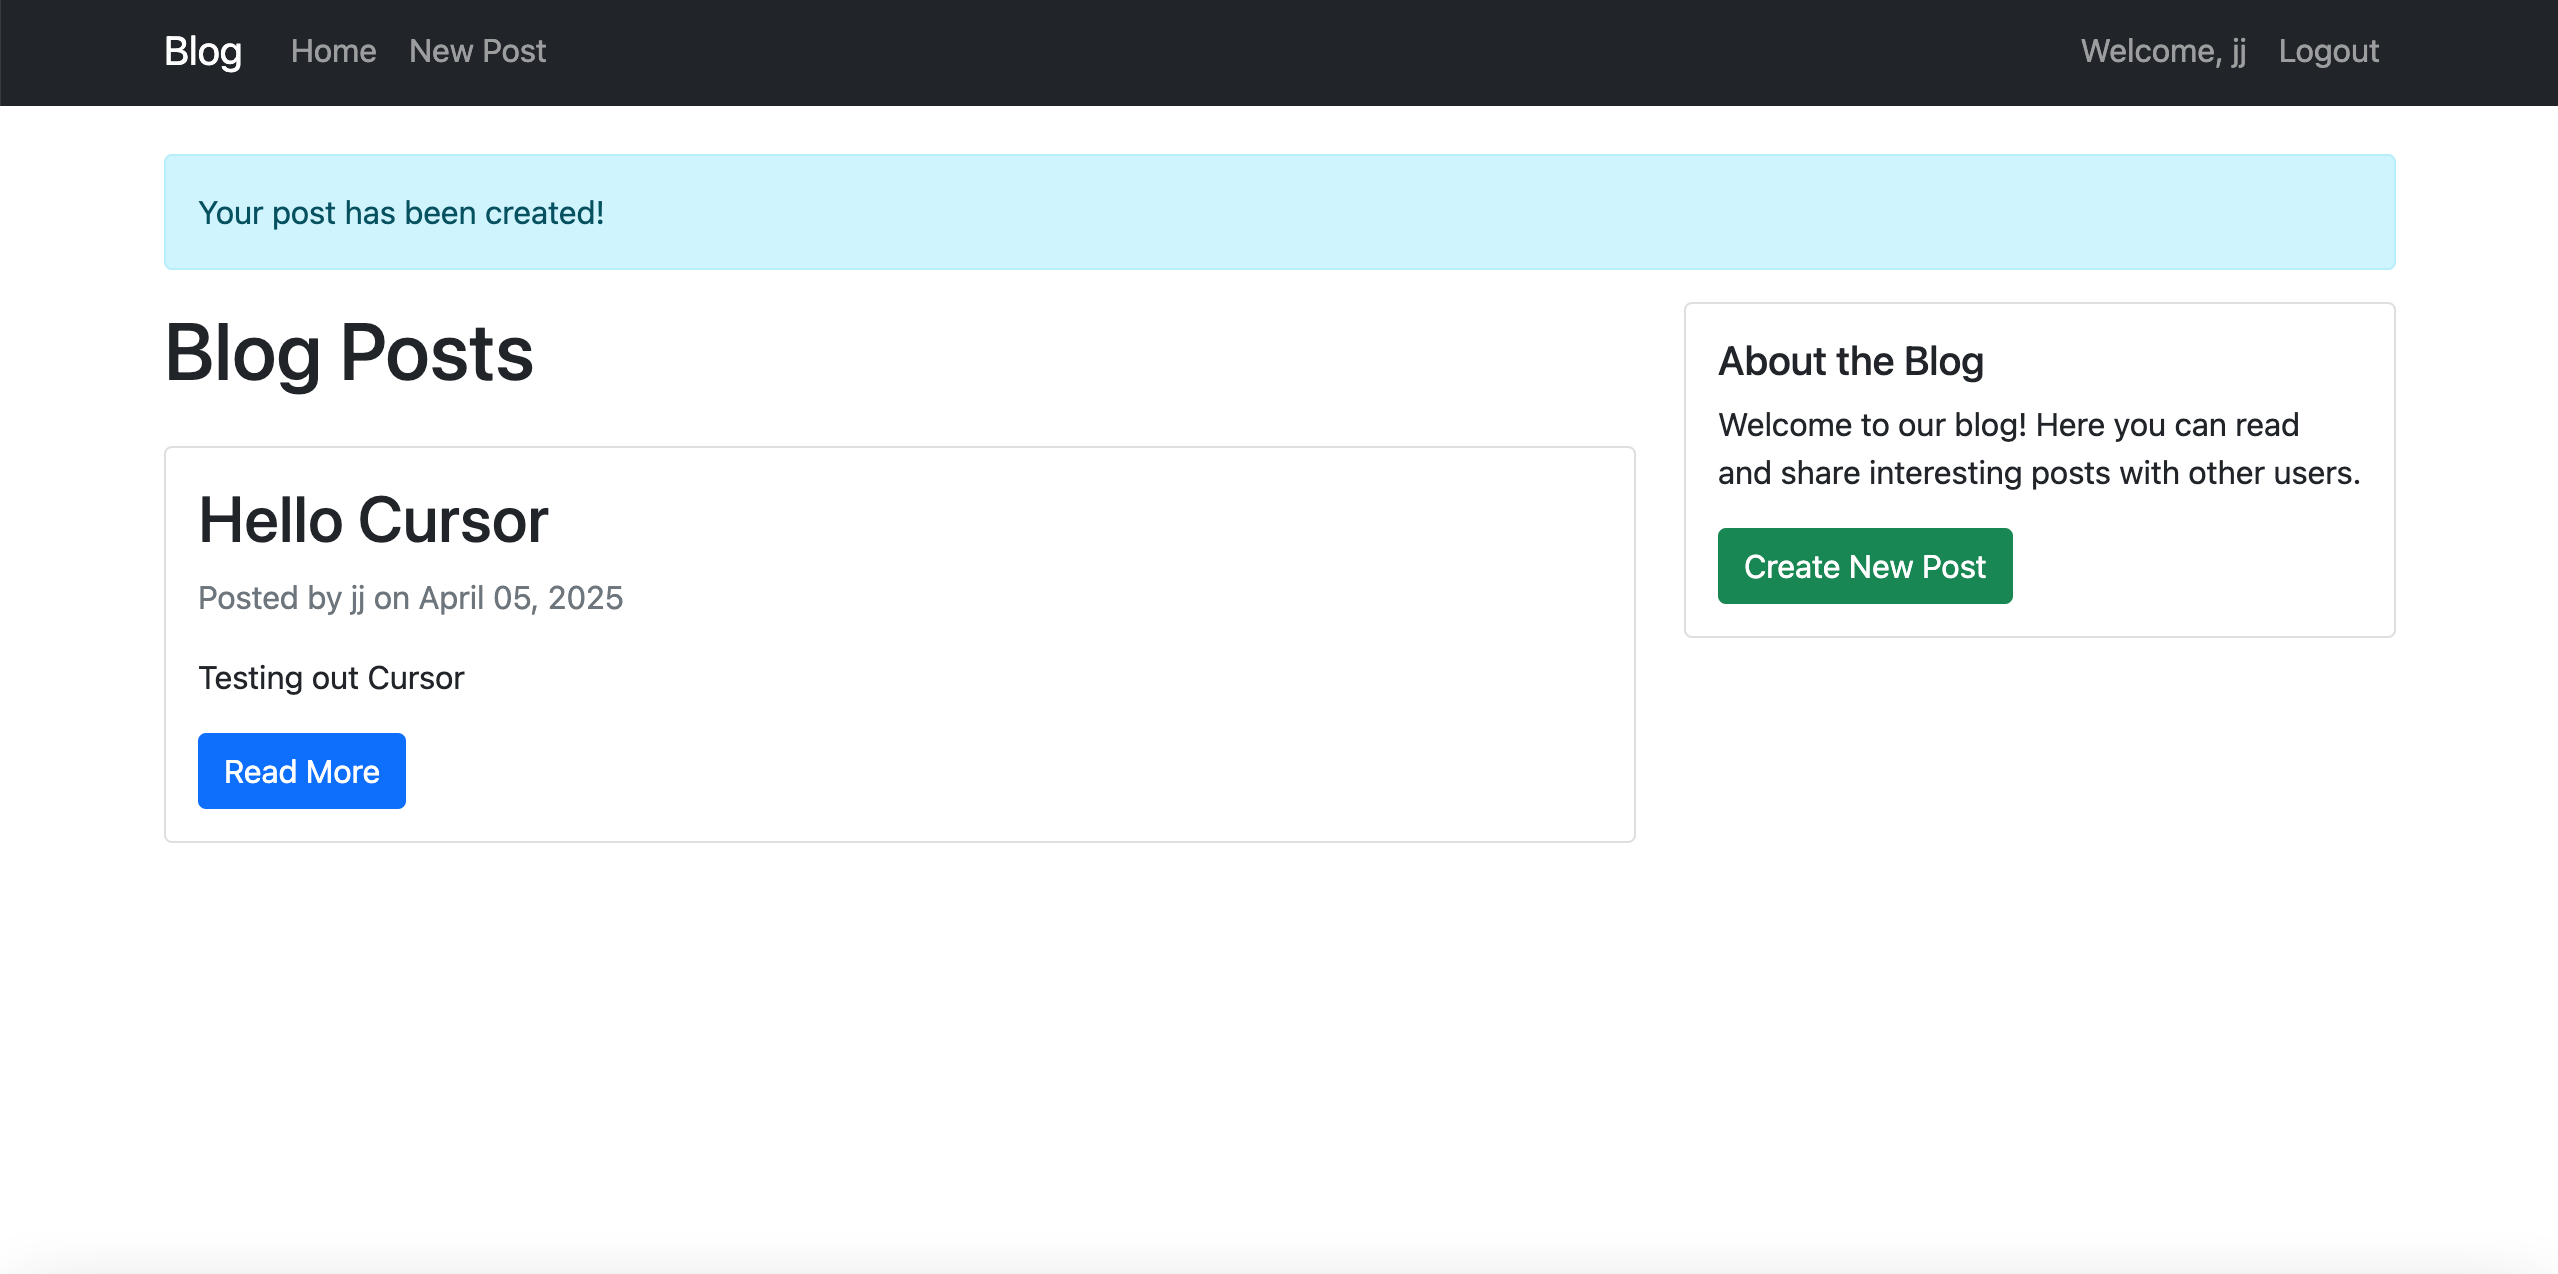
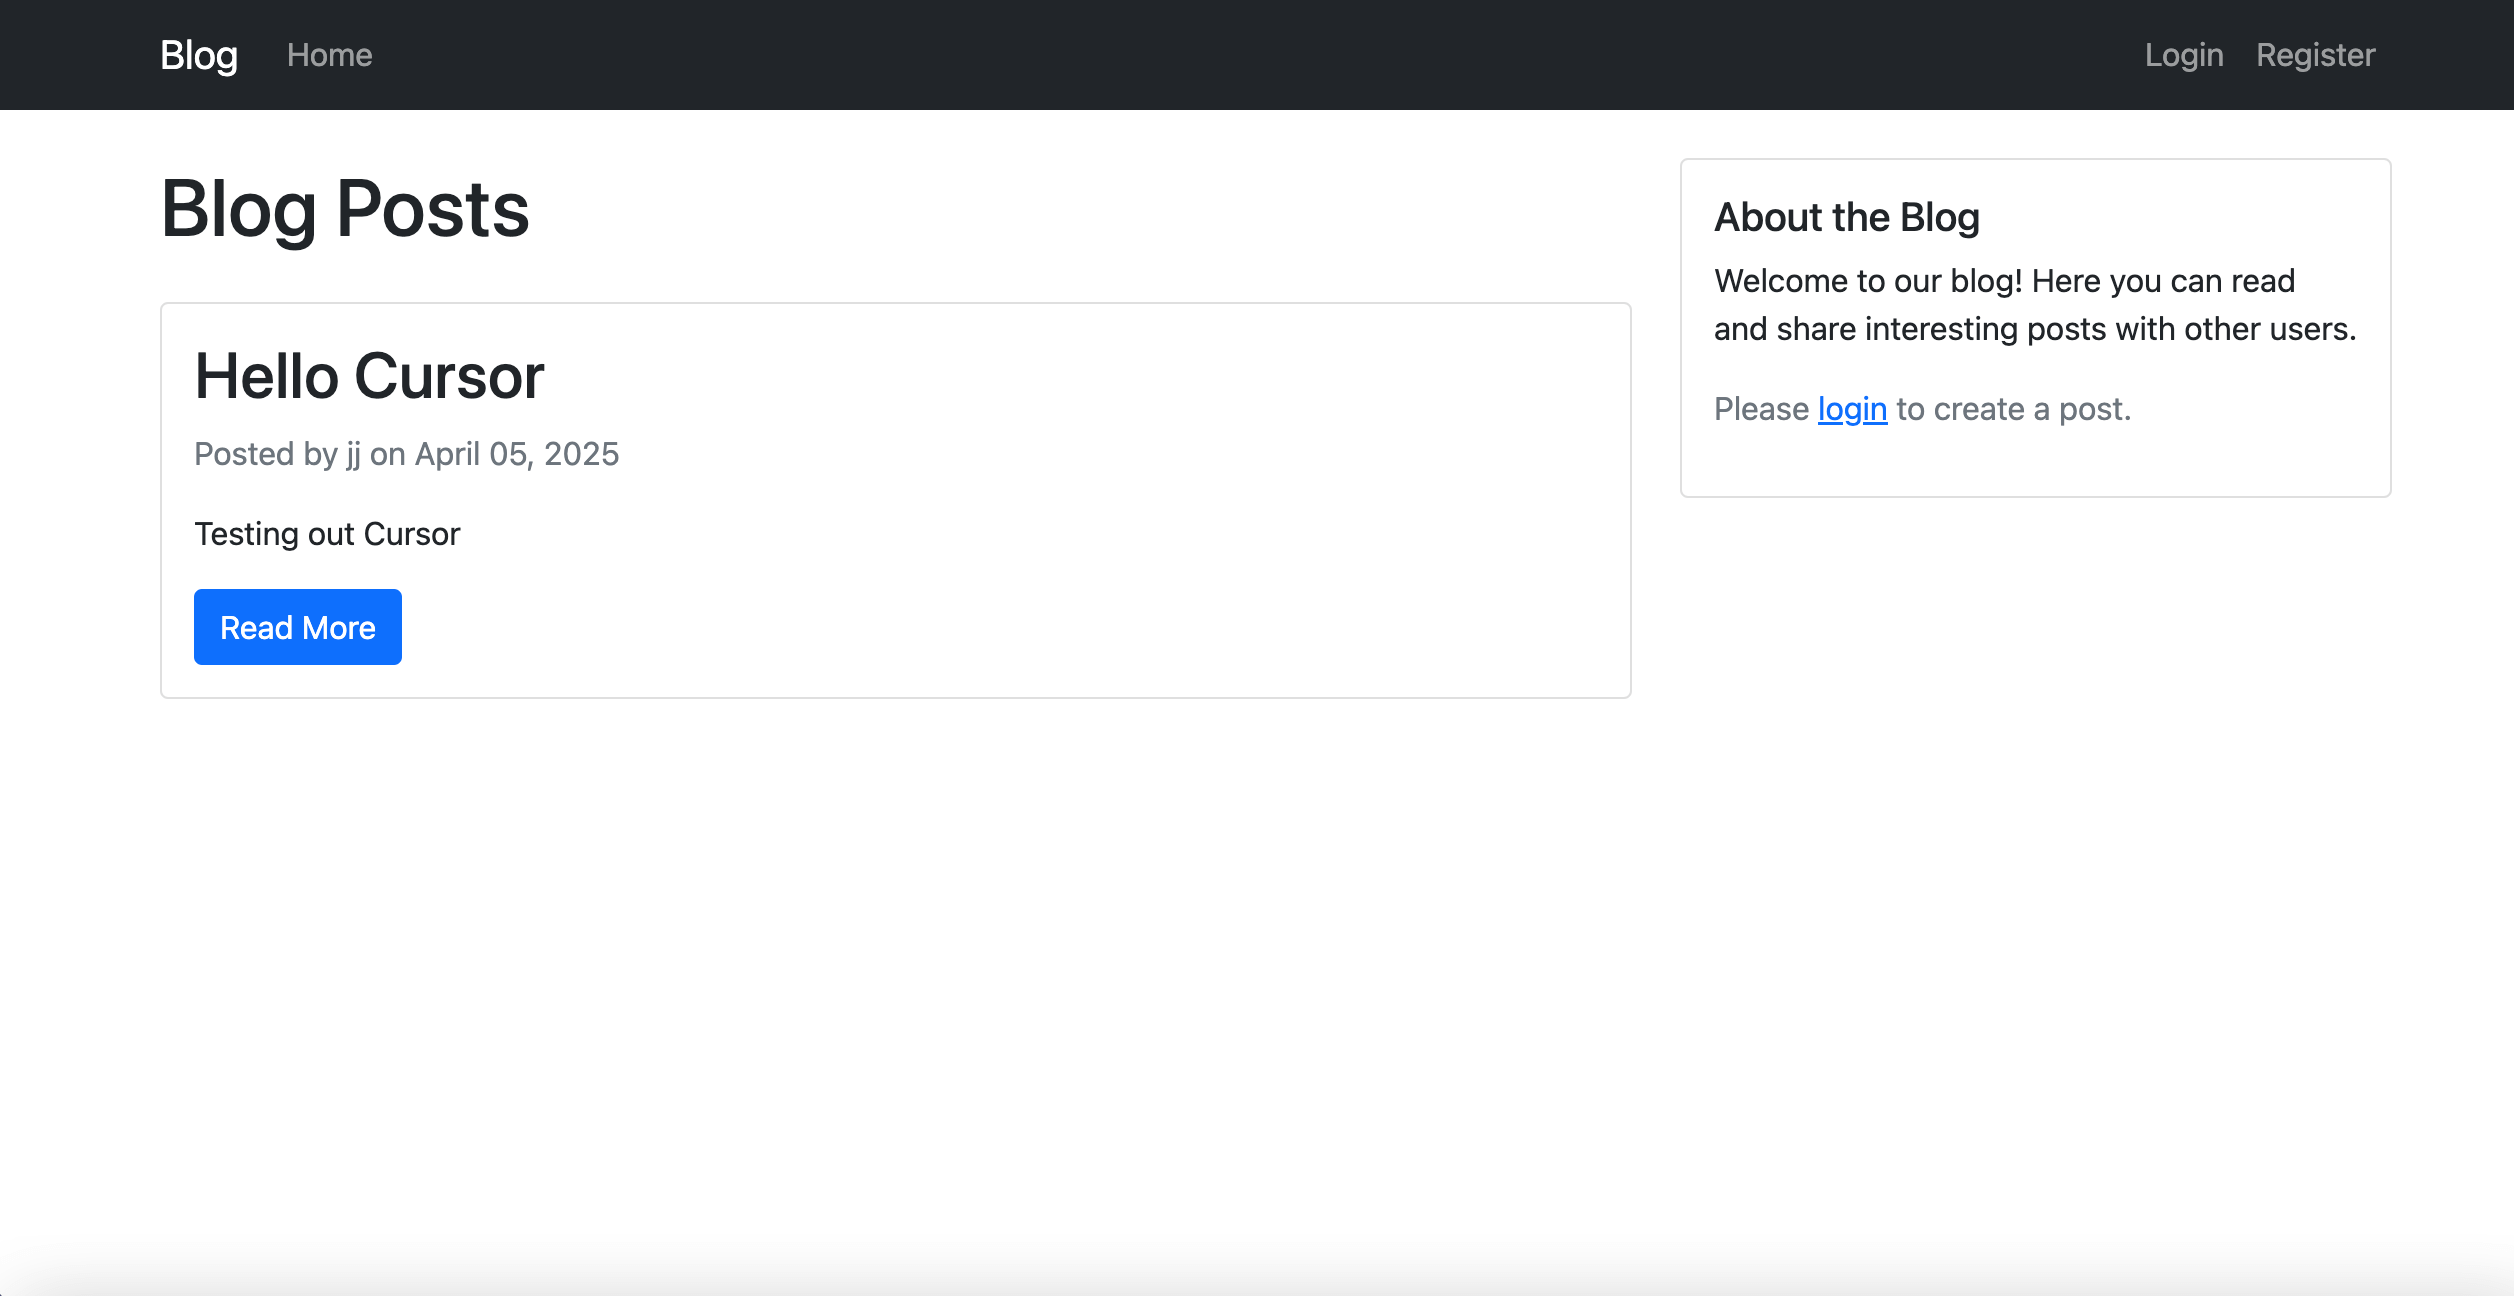
Finished blog which one can view on a local host on the computer
This sets the foundation for everything you’ll build.
Scaffold with Composer
Once you have a plan, use the Composer to scaffold your app:
Press
Cmd + I(Mac) orCtrl + I(Windows/Linux)Describe what you want to build
Preview the changes
Apply only what you need
Composer can generate:
Frontend and backend folders
API routes
Basic UI with Tailwind or Bootstrap
Database schema files
This dramatically reduces setup time, letting you focus on logic and design.
3. Build and Iterate with Chat and Inline Edits
As you code, use Inline Edits (Cmd + K) to tweak code sections quickly. You can:
Add error handling
Refactor functions
Add comments or logs
For broader questions or multi-file edits, use the Chat Window (Cmd + L). Here’s what you can do:
Ask how a function works
Request a feature like “add form validation”
Debug issues like “fix this fetch error”
Cursor reads your project structure, so it knows how your files relate, something that browser-based tools like ChatGPT can’t do on their own.
Test and Troubleshoot
Cursor helps with debugging too. Highlight any error-prone code and say:
“Why is this throwing an undefined error?”Or, if your app breaks, simply say:
“Fix this bug”
“Make this function async”
“Add unit tests for this route”
You’ll receive a smart fix, plus the reasoning behind it, which is excellent for learning.
Style and Polish
Once your app is working, move to polish and styling. Ask Cursor:
“Make this UI mobile responsive with Tailwind”
“Add hover effects and animations”
“Improve accessibility on this form”
You can iterate on the look and feel without digging through documentation.
How Do I Push My Project to GitHub?
Once your app is looking good and working well, it’s time to save your work and maybe share it with others—or prepare for deployment. That’s where GitHub comes in.
Here’s how you can push your project from Cursor to GitHub in a few simple steps:
Step 1: Initialize Git (if not done already)
Open your Terminal (inside Cursor or externally) and run:
git initThis turns your folder into a Git project.
Step 2: Create a GitHub Repository
Go to github.com and log in.
Click New Repository
Give it a name, like
recipe-appDo not check “Initialize with README” if you already have files locally
Click Create Repository
You’ll get a URL that looks like:
https://github.com/yourusername/recipe-app.gitStep 3: Add and Commit Your Code
Back in your terminal:
git add .
git commit -m "Initial commit"
Step 4: Link to Your GitHub Repo
git remote add origin https://github.com/yourusername/recipe-app.gitStep 5: Push the Code
git branch -M main
git push -u origin main
Your code will now be live on GitHub.
If Git feels overwhelming, ask Cursor’s chat:
“How do I push my current project to GitHub?”It will walk you through the same steps—customized for your setup.
Also, if you make new changes in the future, use:
git add .
git commit -m "Describe your update"
git push
Do this regularly to back up your progress and show your work online.
Deploy or Export
While Cursor doesn’t deploy your app directly, it helps you prepare for deployment. You can ask:
“What’s the best way to deploy a Node.js app?”
“Generate a README with installation instructions”
“Add .env support for production”
For static sites, you can export and push to GitHub, then deploy via services like Vercel or Netlify.
Why This Workflow Works for Beginners
Most beginner devs get overwhelmed by the number of steps it takes to go from “idea” to “working app.” Cursor flattens the learning curve by acting as:
A project generator
A real-time tutor
A debugging assistant
A design collaborator
Instead of jumping between tools or getting lost in syntax, you move step-by-step, always supported by AI that understands your code in context.
This streamlined development flow makes Cursor not just an editor, but a full coding companion.
Using the Composer: Generate Full Projects
One of Cursor’s most powerful tools is the Composer, which can generate multiple files at once based on your prompt.
To enable Composer:
File > Preferences > Cursor Settings > Features > Enable ComposerOpen the Composer:
Press
Ctrl + I(orCmd + Ion Mac)
Then, describe what you want to build.
Example Prompt:
“Build a recipe app using Express (backend), SQLite (database), and Tailwind CSS (frontend). It should include user login, recipe creation, and a favorites list.”
The Composer will create the file structure, write out boilerplate code, and offer previews. You can review each change like a GitHub pull request and approve or reject them.
This means you can go from zero to app in just a few minutes.
Chat With Your Code
Cursor features a built-in AI chat window that understands your entire project.
To open the chat:
Press
Ctrl + L(orCmd + Lon Mac)
This is your go-to tool for:
Asking coding questions
Explaining confusing functions
Making bulk edits across files
Finding specific parts of your code
Example Prompt:
“Can you explain how the user authentication works in this project?”
The AI will give you a plain-language summary of your code, saving you hours of Googling.
Edit Inline for Small Fixes
Sometimes you want to tweak just a few lines of code without opening the chat.
Cursor’s Inline Edit tool makes this easy.
To use Inline Edit:
Highlight code you want to change
Press
Ctrl + K(orCmd + Kon Mac)Type your instruction, like:
“Add error handling here”
You’ll get a preview of the changes. Click apply to update the code instantly.
Convert Images to Code
Got a UI mockup or a sketch of your app layout?
You can upload an image directly into Cursor and ask it to generate matching HTML/CSS code.
Steps:
Upload your image
Open the chat window
Prompt: “Generate an HTML file that looks like this”
This is especially useful for designers learning to code or developers working from Figma screenshots.
Tip: If you want the generated code saved in a new file, create the file first. Cursor doesn’t auto-create new files during image-to-code generation.
What Cursor Does Well (Pros)
Feels like VS Code: Familiar layout makes the transition easy.
Fast setup: Skip boilerplate and file configuration.
Contextual understanding: Reads your project and makes intelligent suggestions.
Powerful Composer: Scaffolds entire apps from a single prompt.
Inline and chat editing: Make changes naturally, like talking to a teammate.
Supports modern frameworks: React, Next.js, Django, Tailwind, and more.
For new developers, this means less setup, more doing.
Where Cursor Falls Short (Cons)
Performance issues on large projects: Cursor can slow down with too many files open.
Occasional misfires: AI may touch the wrong file or delete helpful comments like
console.log.Context limitations in chat: Pasting code into chat can confuse the model if not done carefully.
Not a replacement for foundational learning: You still need to understand the basics to know when the AI makes mistakes.
If you’re brand new to coding, Cursor should complement your learning, not replace it.
Cursor vs VS Code: Should You Switch?
Many developers ask: Why use Cursor instead of sticking with VS Code and ChatGPT in your browser?
Here’s the short answer:
| Feature | VS Code + ChatGPT | Cursor AI |
|---|---|---|
| File awareness | No | Yes |
| Inline editing | No | Yes |
| Full project generation | No | Yes (Composer) |
| Visual chat | Limited | Built-in |
| Works offline | Mostly | Needs internet |
| Free plan | Yes | Yes |
| AI integration | Manual copy/paste | Fully integrated |
If you already know how to code and just want a better workflow, Cursor is a no-brainer. For beginners, it’s like learning to code with a tutor built into your editor.
Tips to Get the Most from Cursor as a Beginner
Be specific with prompts
AI works best with clarity. Don’t just say “build a login page.” Say “build a login page using React, with form validation and Firebase auth.”Start small
Build simple apps like a to-do list or calculator before tackling a full eCommerce site.Review every suggestion
Don’t blindly apply code changes. Read the AI’s suggestions and make sure they match your goals.Ask for explanations
Use the chat to ask “why” questions. It’s a great way to learn patterns and best practices.Keep a coding journal
Note what you learned each session. This helps reinforce lessons and track your progress.
Is Cursor AI Worth It for Beginners?
Absolutely. Cursor AI represents a powerful shift in how we write code, and more importantly, how we learn to code.
It’s not just a shortcut. It’s a platform for growth.
For beginners, it removes some of the most painful friction points in early learning, like setting up environments, remembering syntax, or finding errors in complex logic.
But like any tool, its real power comes from how you use it.
Matthew is a technical author with a passion for software development and a deep expertise in Python. With over 20 years of experience in the field, he has honed his skills as a software development manager at prominent companies such as eBay, Zappier, and GE Capital, where he led complex software projects to successful completion.
Matthew’s deep fascination with Python began two decades ago, and he has been at the forefront of its development ever since. His experience with the language has allowed him to develop a keen understanding of its inner workings, and he has become an expert at leveraging its unique features to build elegant and efficient software solutions.
Matthew’s academic background is rooted in the esteemed halls of Columbia University, where he pursued a Master’s degree in Computer Science.
As a technical author, Matthew is committed to sharing his knowledge with others and helping to advance the field of computer science. His contributions to the scientific computer science community are invaluable, and his expertise in Python development has made him a sought-after speaker and thought leader in the field.
